
In this tutorial, I will outline the way that I approach any photo shoot. From the preparation to my mentality when I first arrive on site. I will go in depth with how I approach my camera settings and also discuss the importance of client interaction and relationship. It’s a meditation or even a martial art that will guarantee the look of the final photo to directly reflect my original vision.
PREPARATION
The preparation must happen the night before because there is nothing worse then feeling that you’ve forgotten that all important 24-70mm lens just hours before the shoot. Visualize the shoot in your head the night before, pack your bags, double check, and go to sleep in peace. Wake up, grab your bags, load up the car, take the shot, and high five your client for a successful shoot. I follow this guideline quite strictly because I have been in that situation where I’ve been driving for an hour towards my shoot location and then just remembered that I left my tripod at home. I’ve gone down those epic hikes with a super heavy camera bag strapped onto my back while climbing over fallen trees and avoiding slippery slopes, only to realize I’ve once again forgotten my tripod the second I reach the photo site. Not fun especially when I’m trying to do long exposures of up to 40 seconds or more.
PREPRODUCTION/SCOUTING
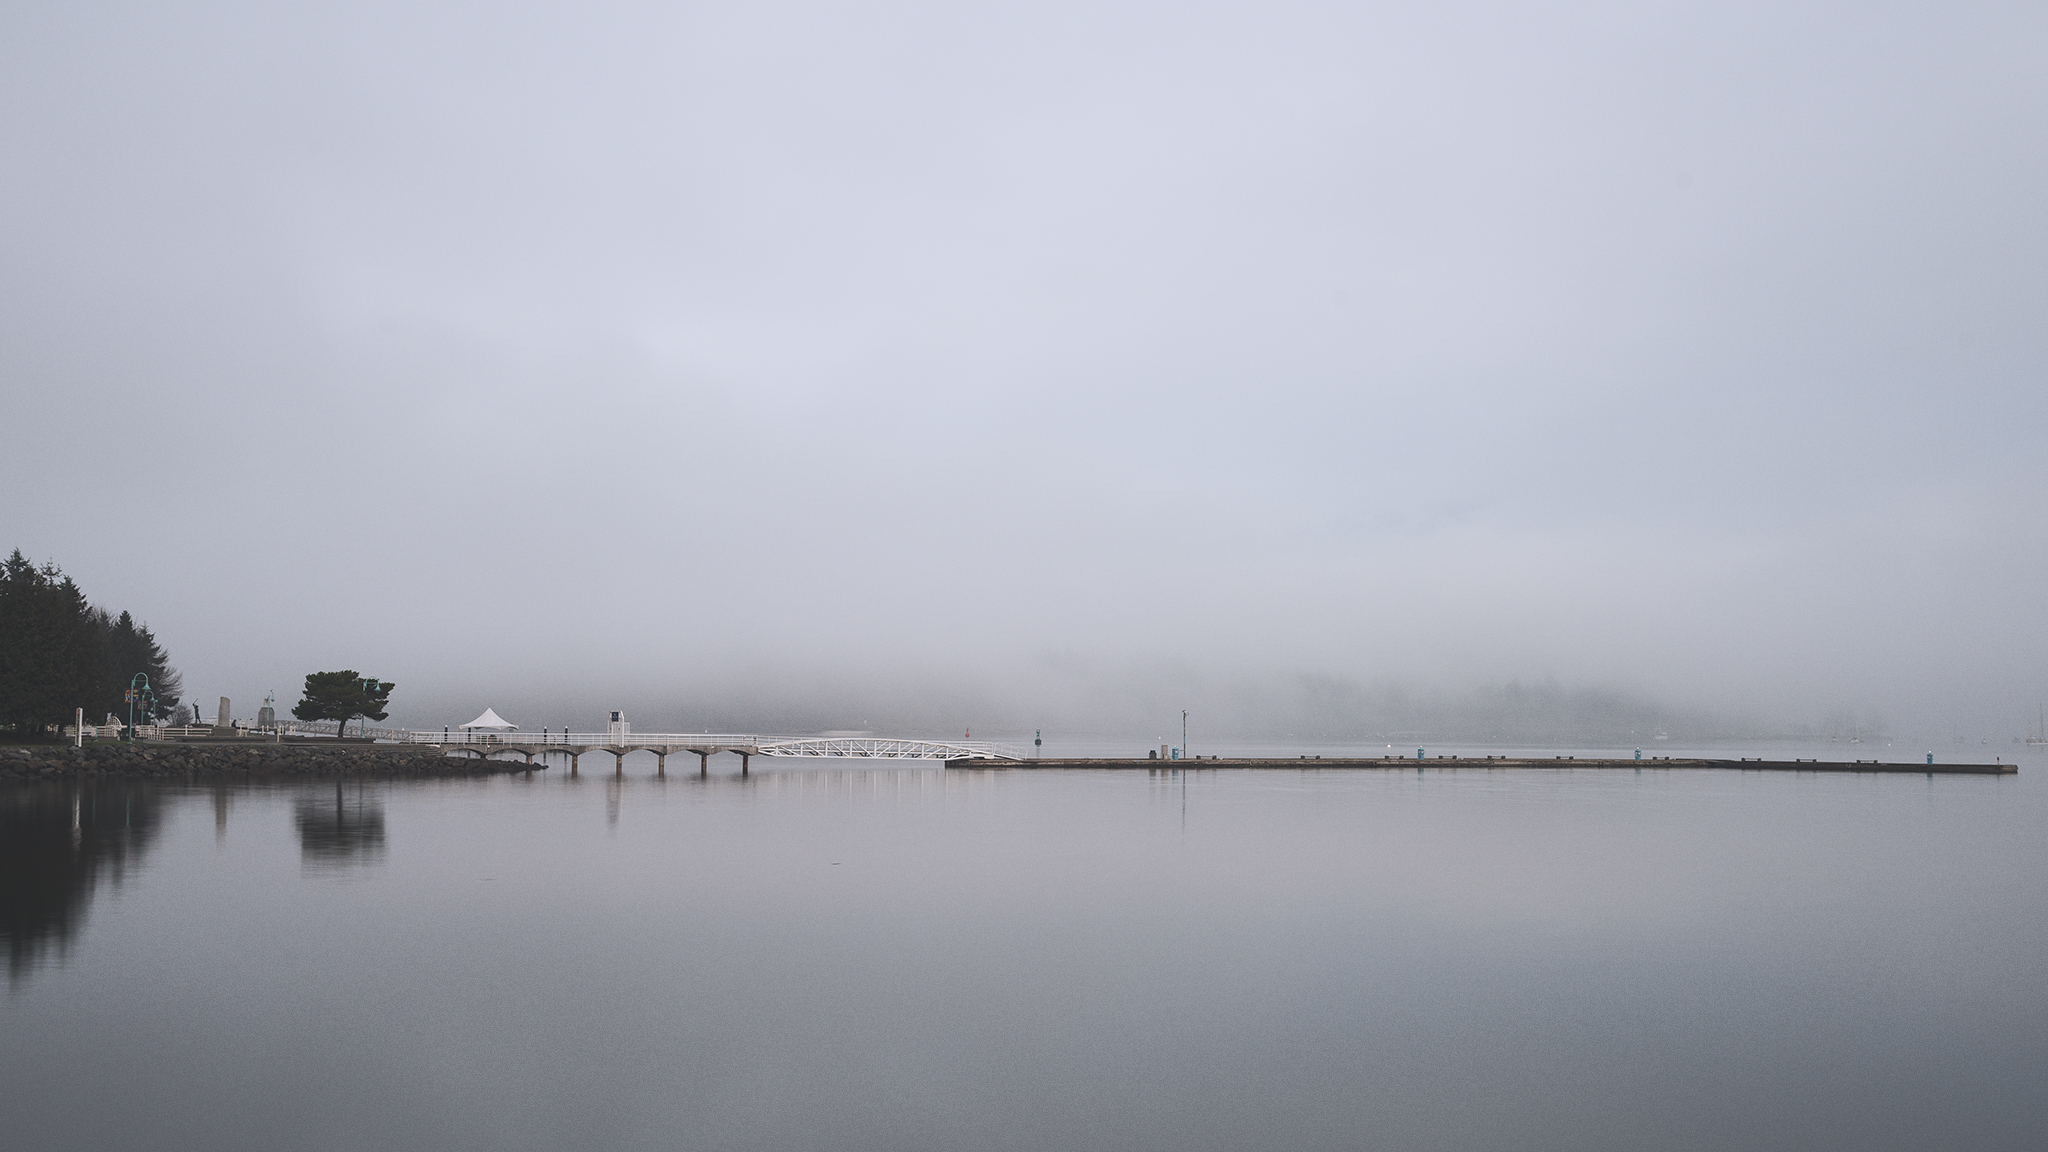
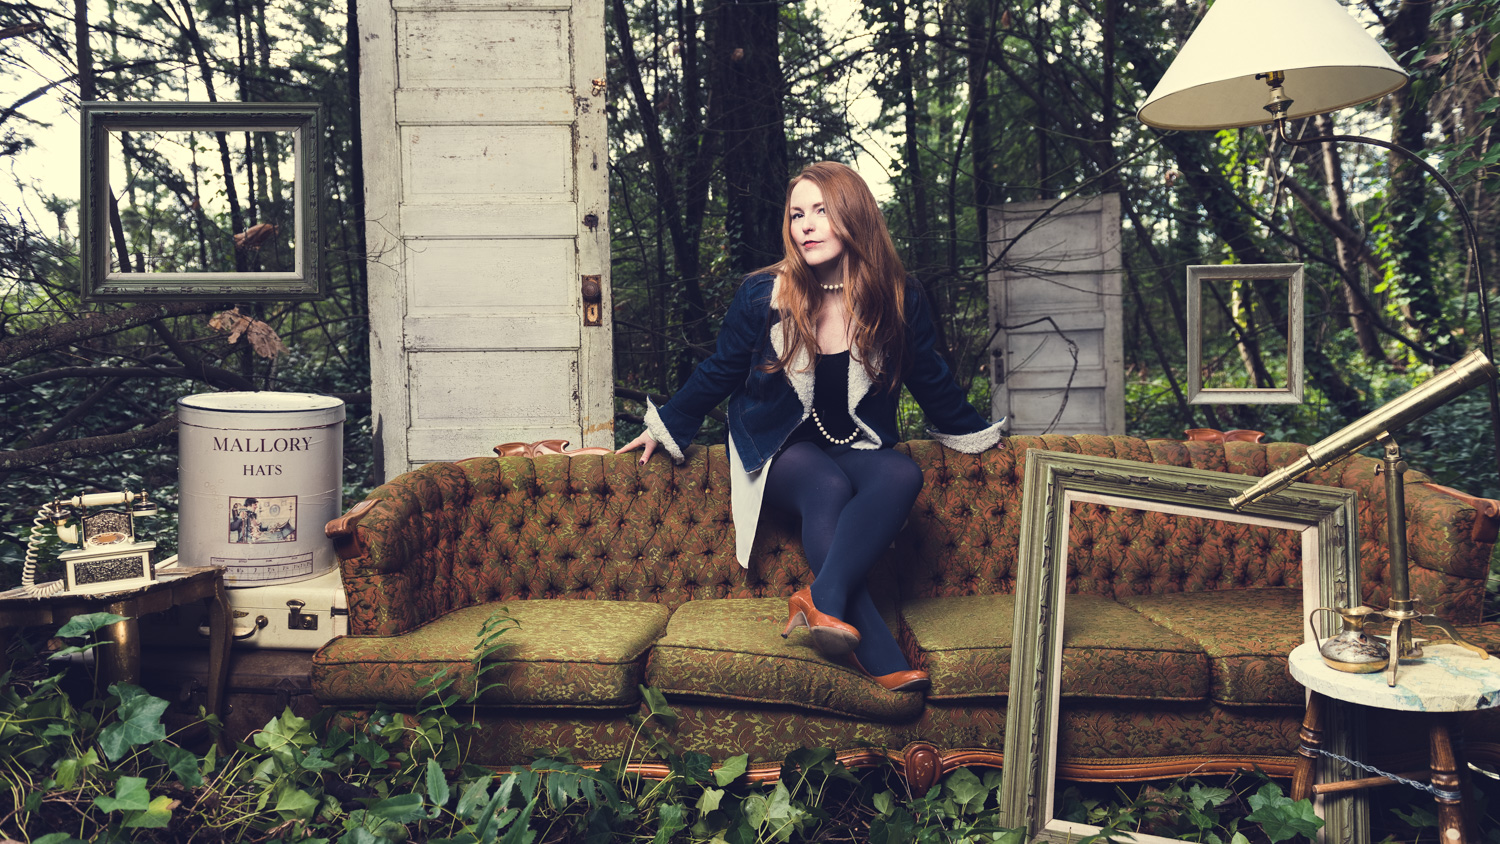
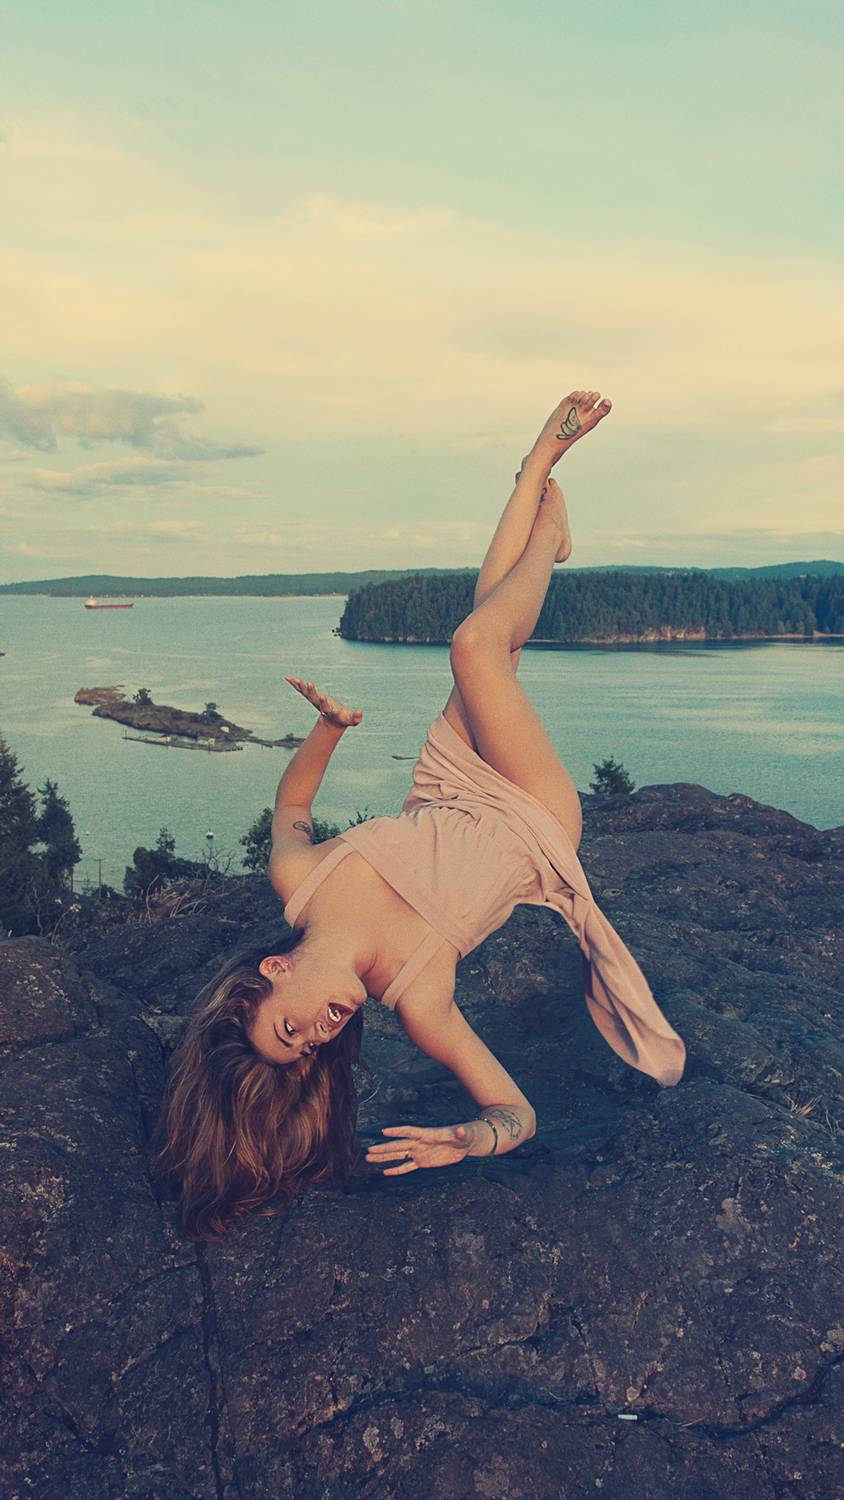
As important as this step is, it is not always necessary. I would say it’s only really applicable to really elaborate photo shoots where a particular background is integral to the shot or set pieces are involved. For example, if you are shooting a model against an amazing shoreline be sure to check things like the tide calendar for your area. I have found amazing shorelines that were perfect for the composition, only to arrive on the day of the shoot to realize that the tide was low. Sure I improvised and quickly came up with a new composition but sometimes it’s nice not to have to compromise your initial vision when all variables have a way of being identified and eliminated. Check your calendar in case there may be a huge event crowding your perfect location. Know what time the sun is setting or rising and where, if it’s important to the shot. There are many great photographer apps available to you to efficiently and conveniently access these things. Such as “The Photographer’s Ephermeris”, which shows you exactly where the sun sets and rises amongst other things and “Stellarium”, which shows you constellations and other objects high in the sky.
I have found it consistently helpful to always show up to a photo site a day or two before the actual scheduled shoot to get a feel of the available light, determine if strobes or speedlights are necessary, and to visualize my composition – the most important aspect if you ask me.
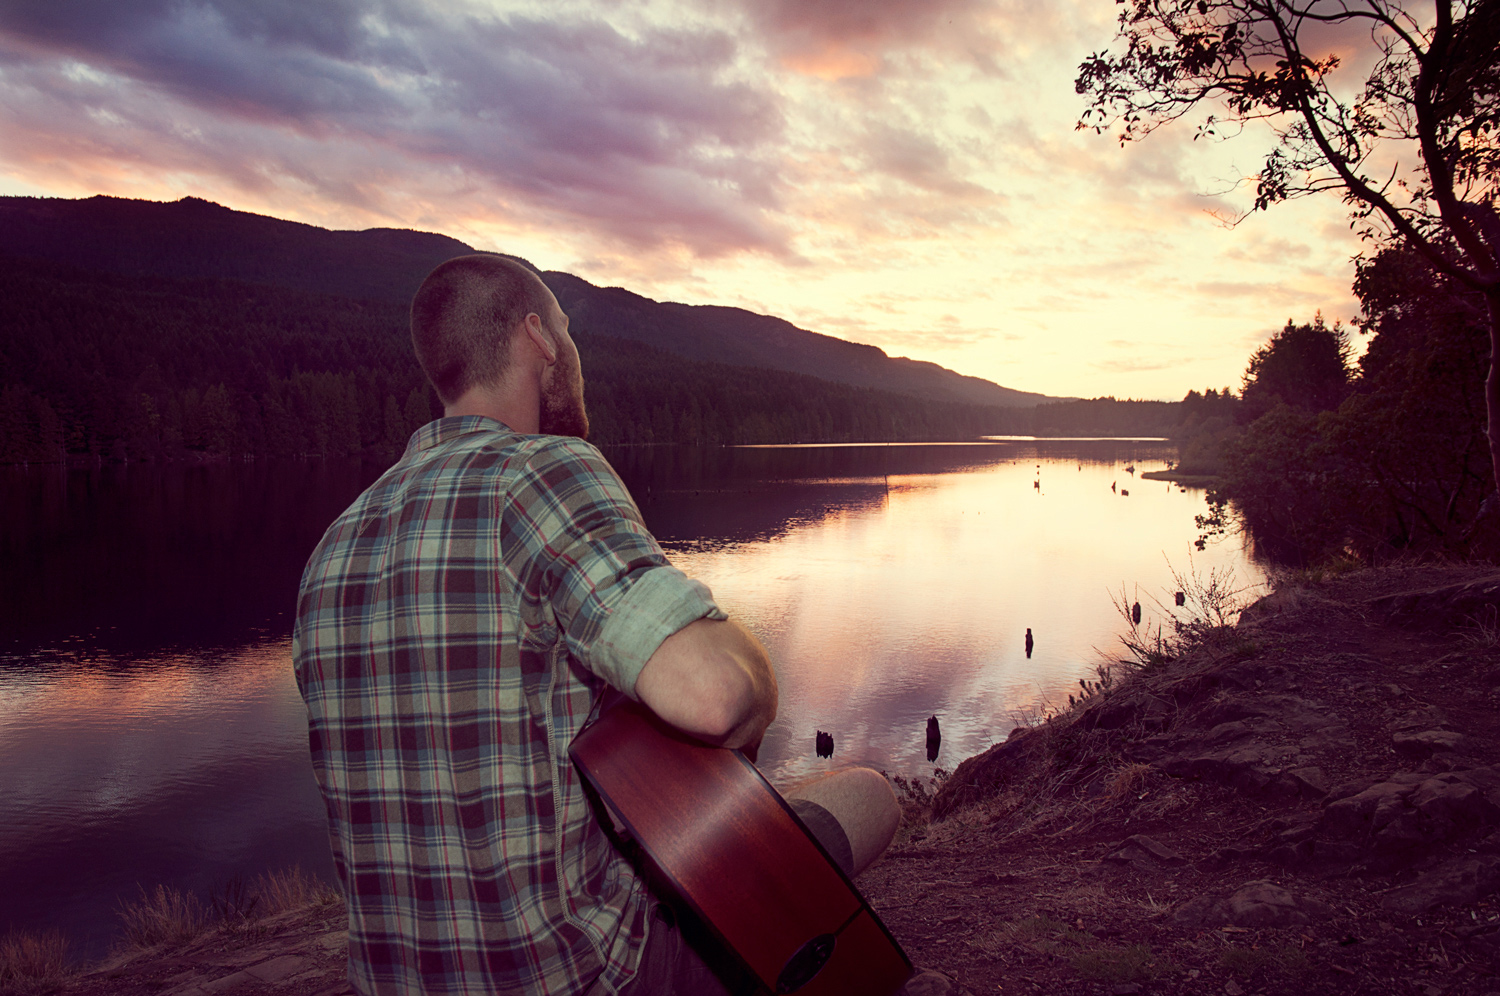
MOMENTS BEFORE THE SHOOT
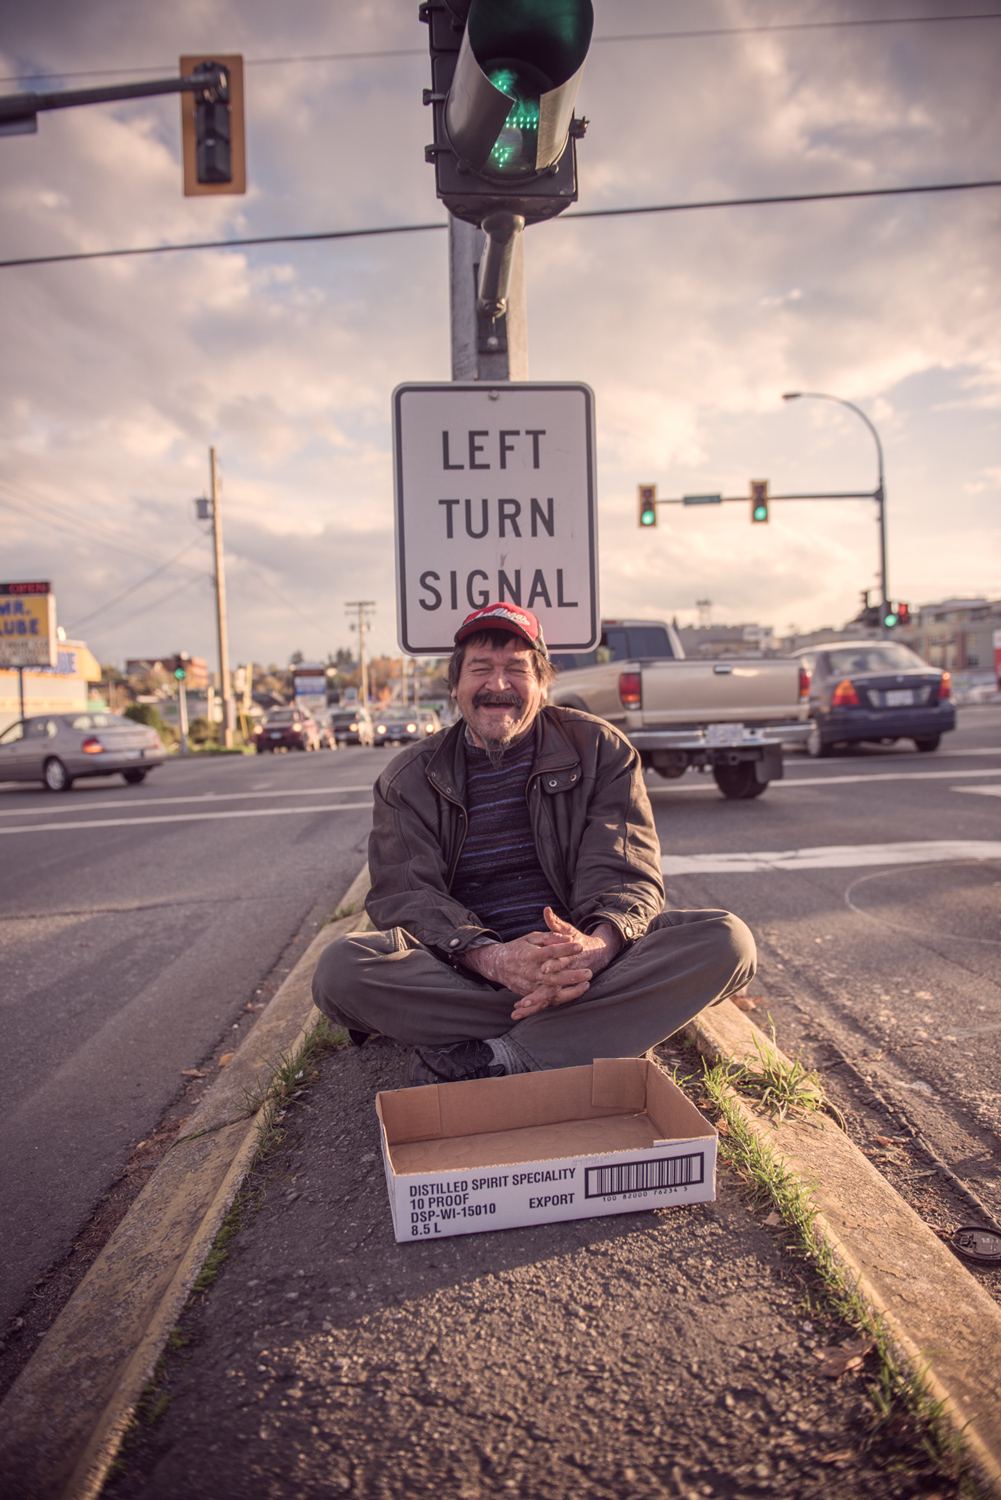
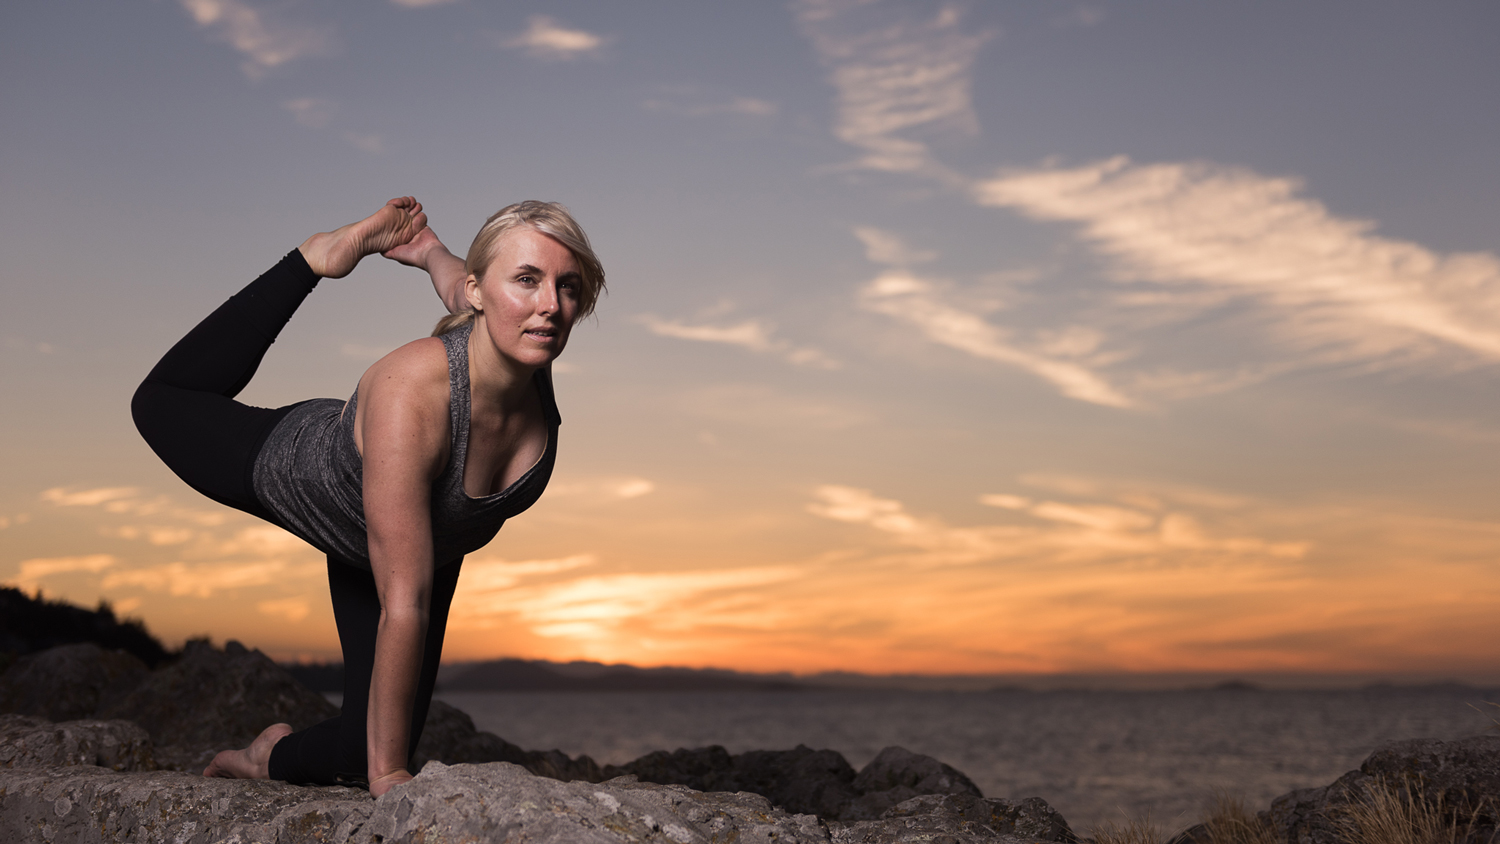
Even after all the planning and preproduction I just encouraged, you still have to be spontaneous. In fact, the first thing I do when I’ve arrived on location is pick up my camera and walk around while looking through the viewfinder. Although I’ve already figured out my composition earlier, I still recompose in case I’ve missed something. So in short, don’t just show up to a site and start shooting the first thing that catches your eye. Take your time to scan your surroundings in order to find the perfect “sweet spot”. Composition, composition, composition. Anyone can dial in camera settings, it’s all about composition.

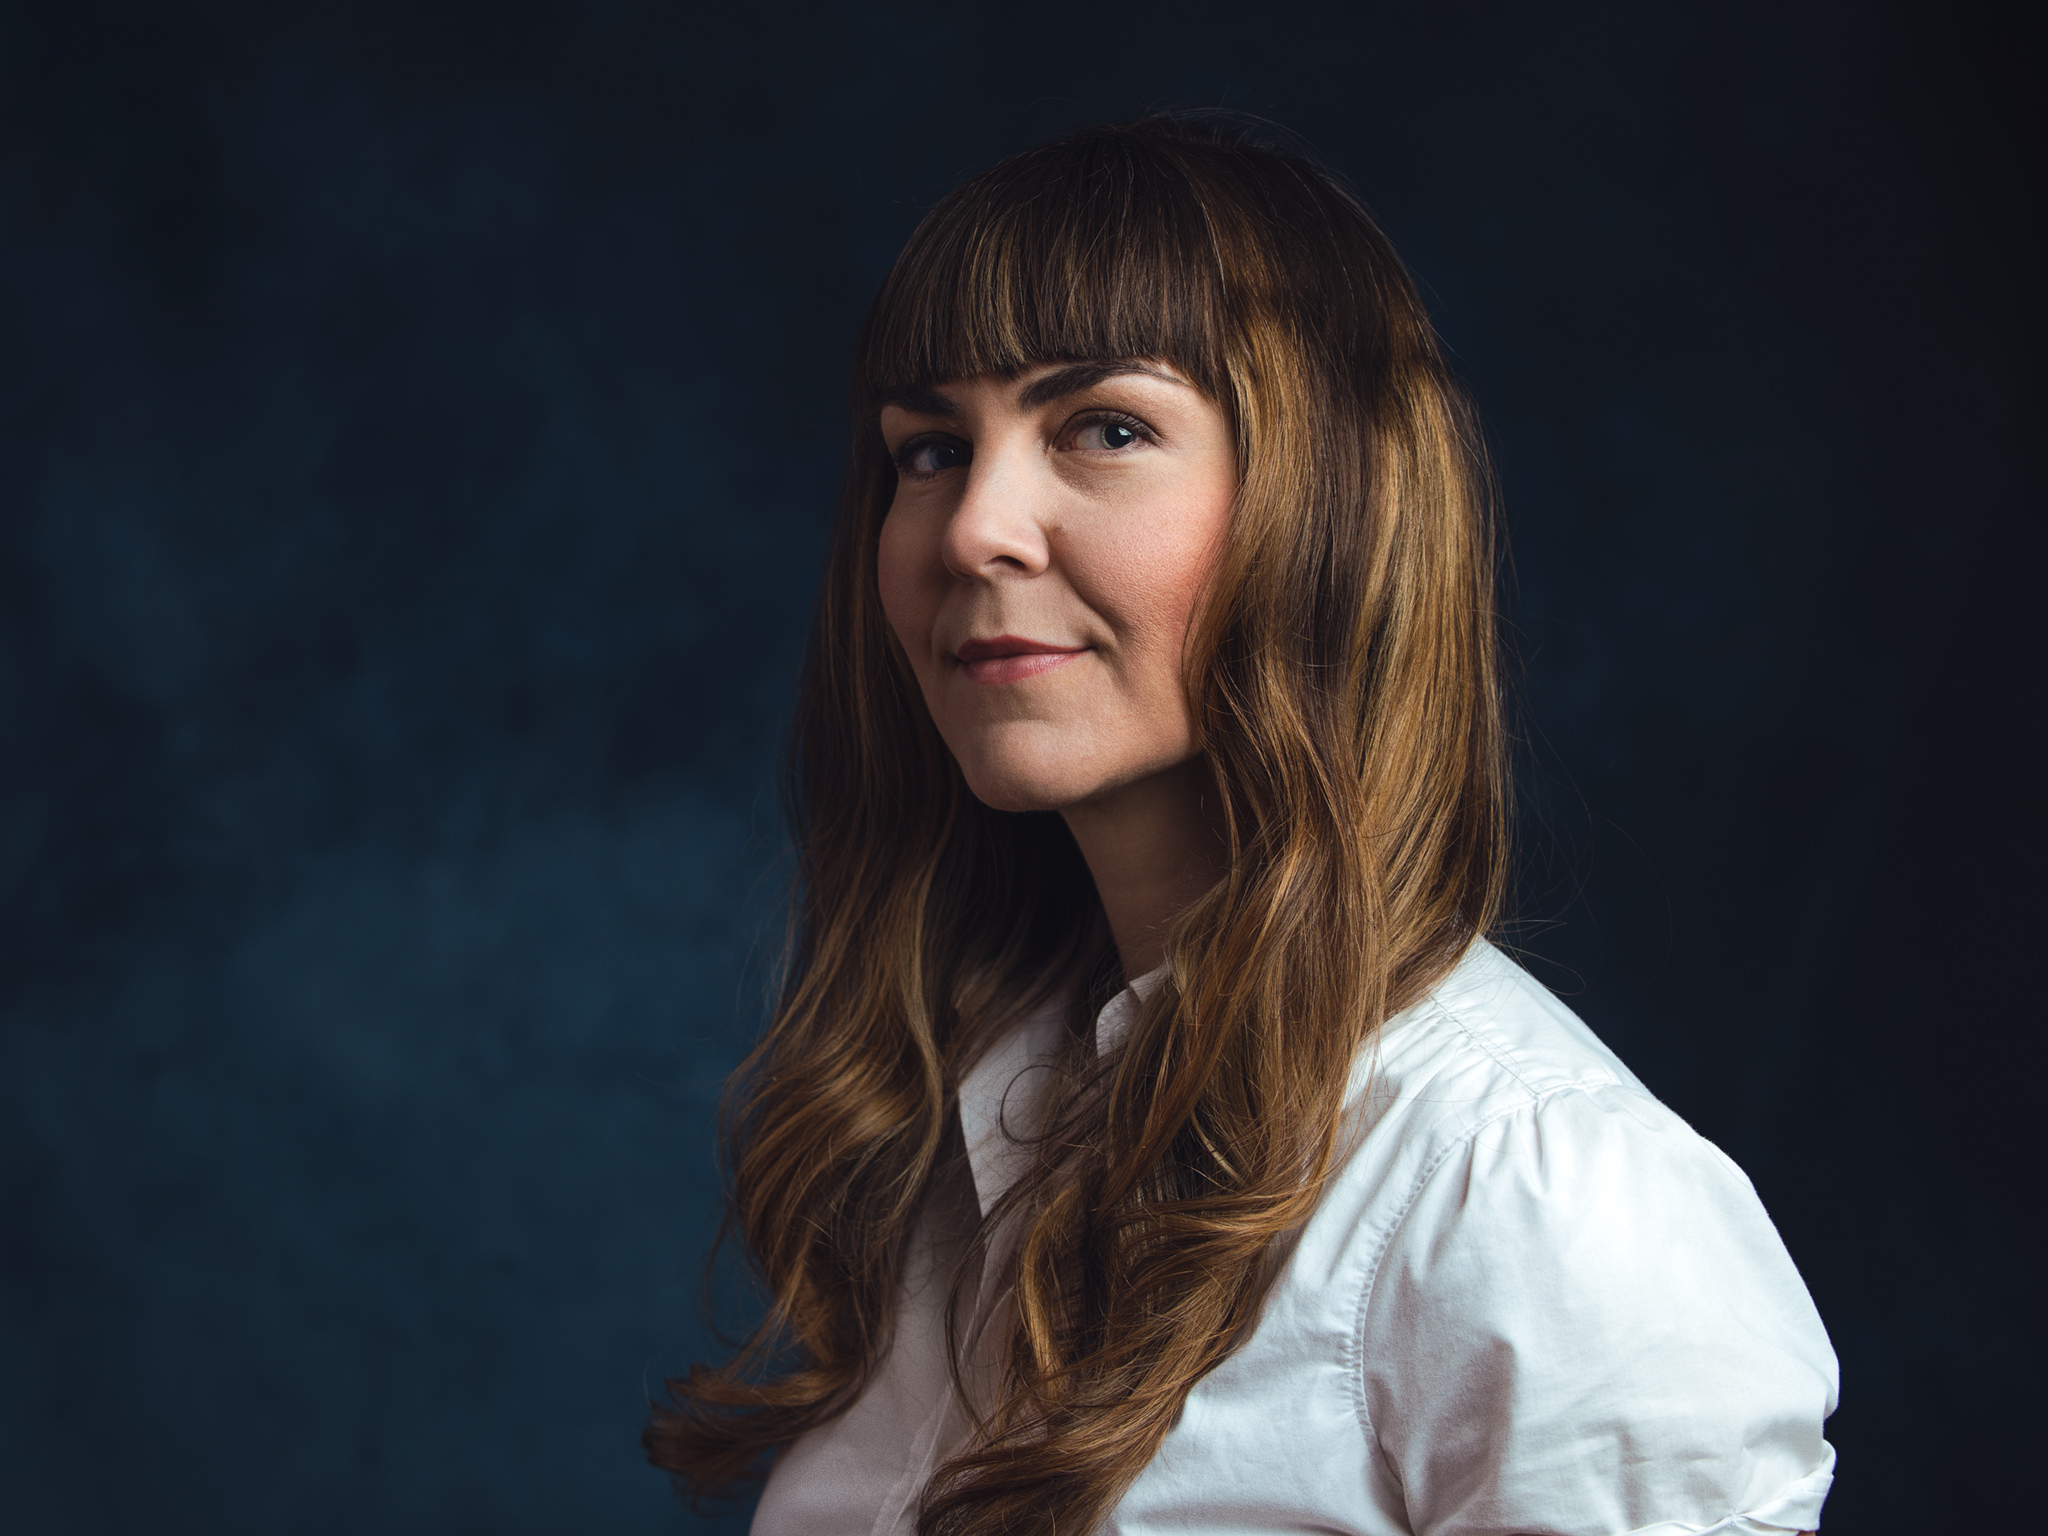
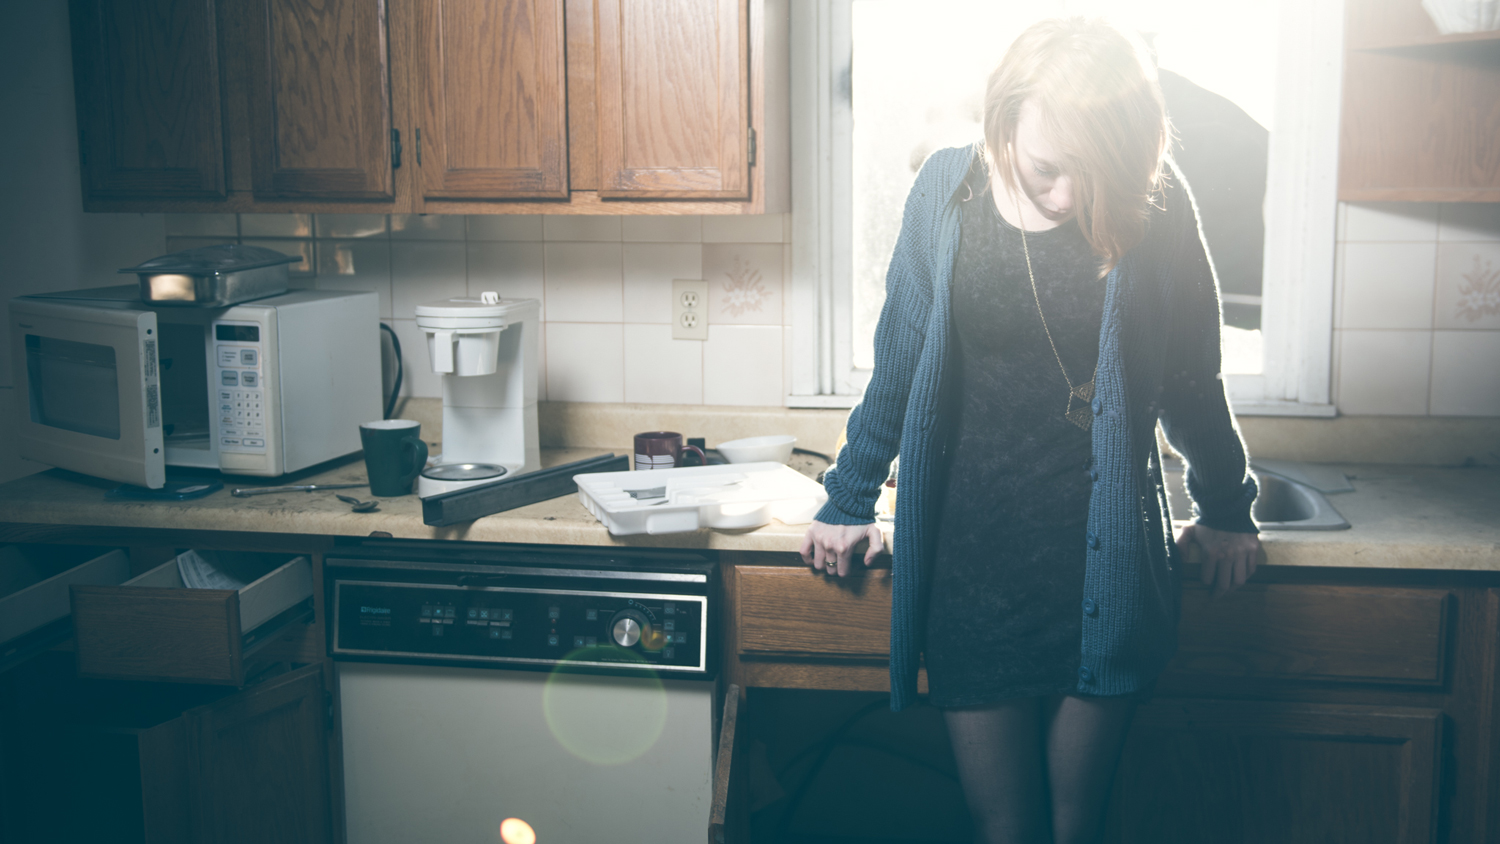
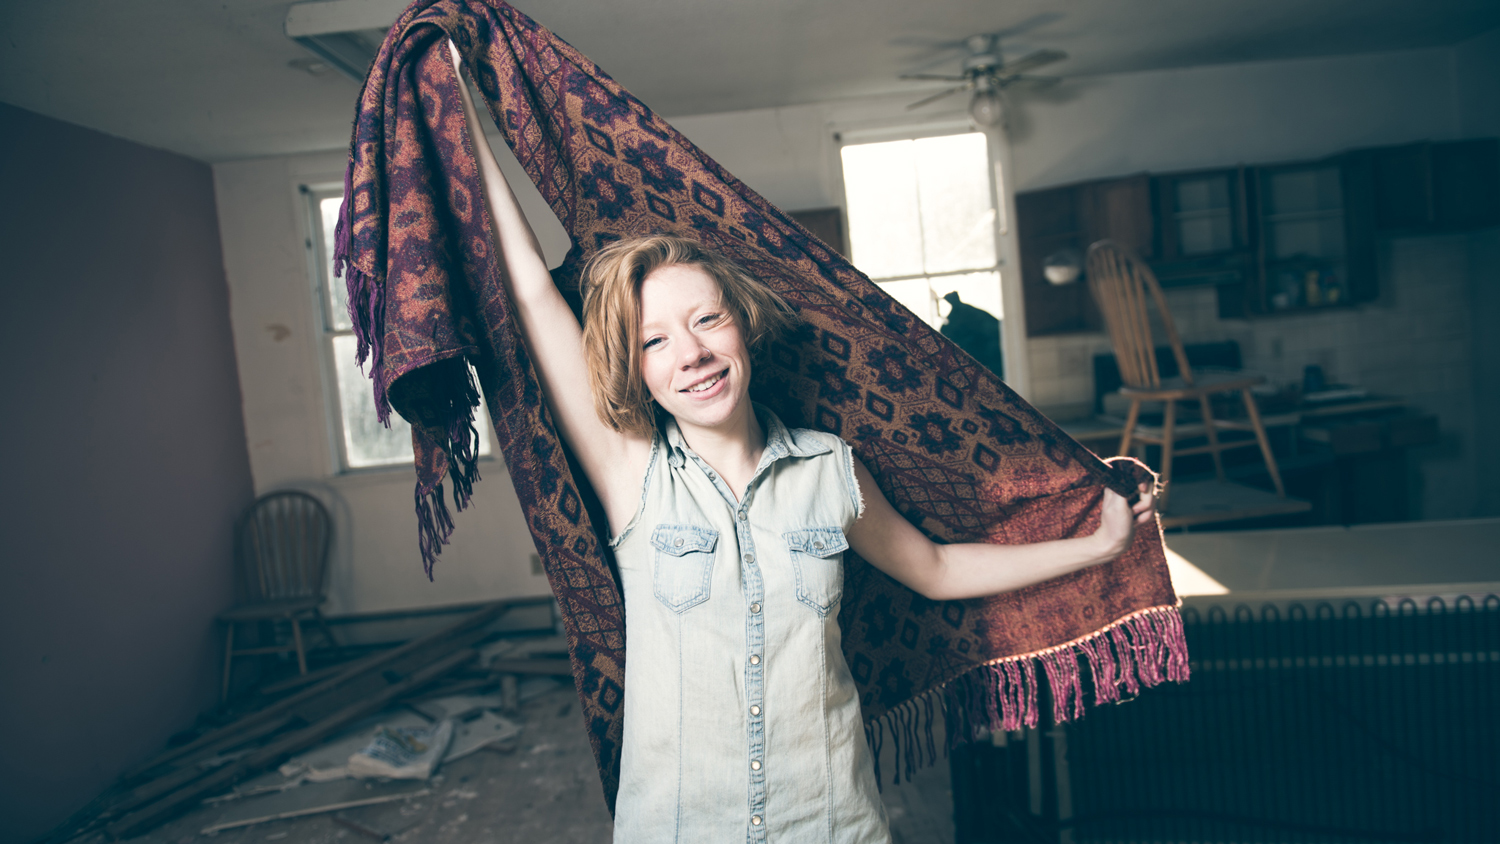
Emma Plant
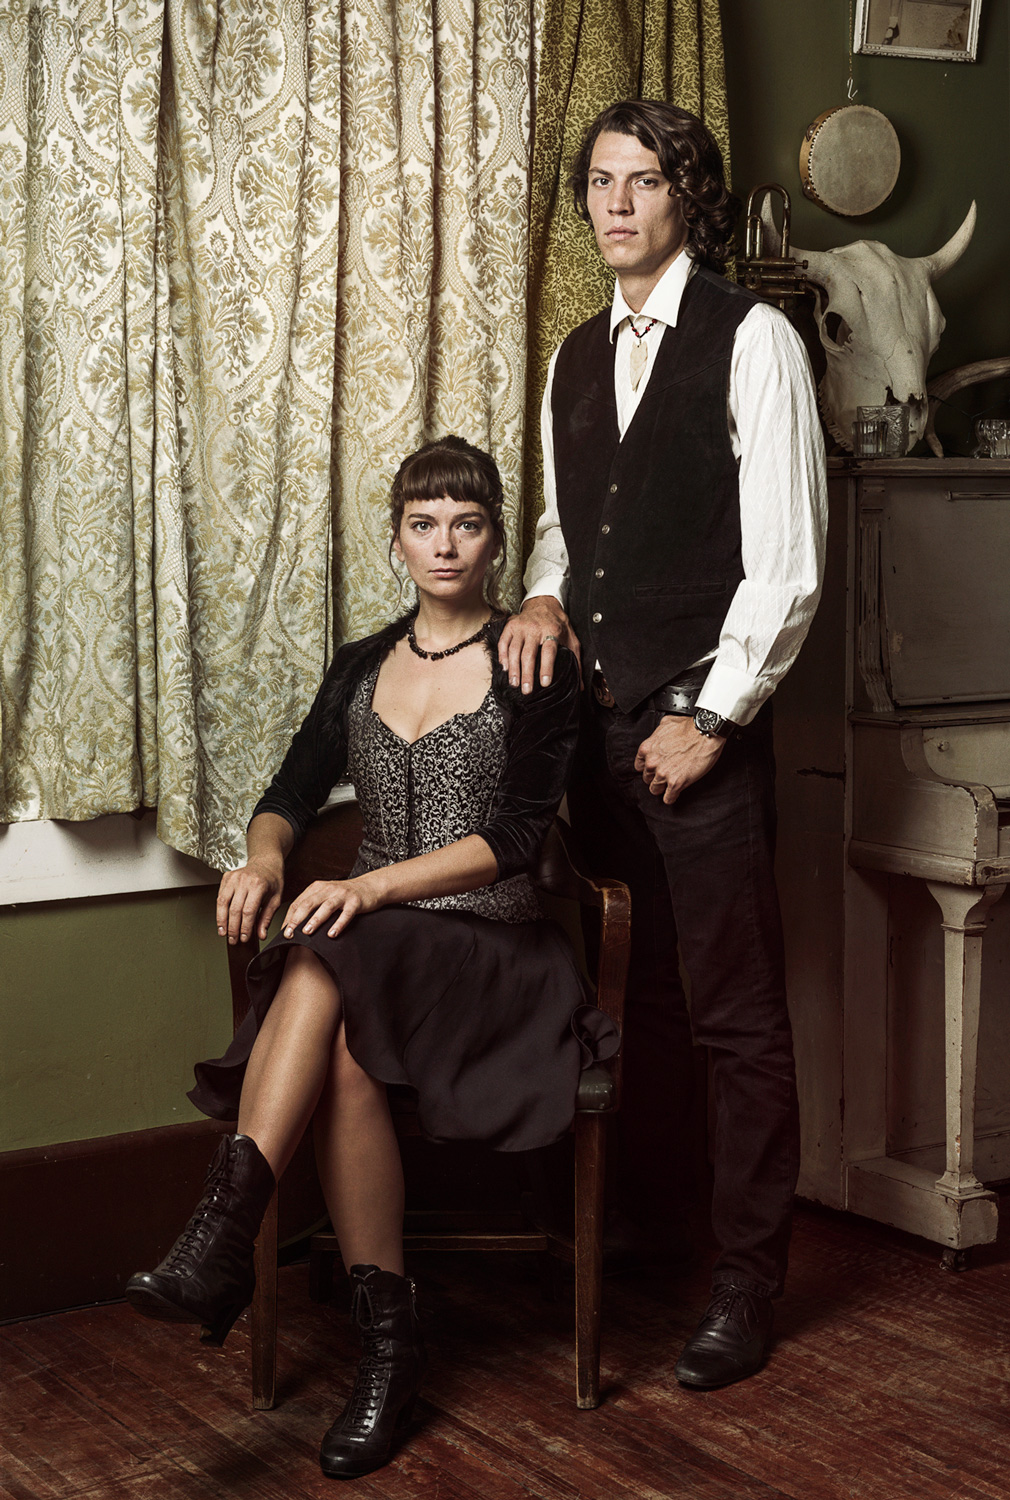
THE SHOOT
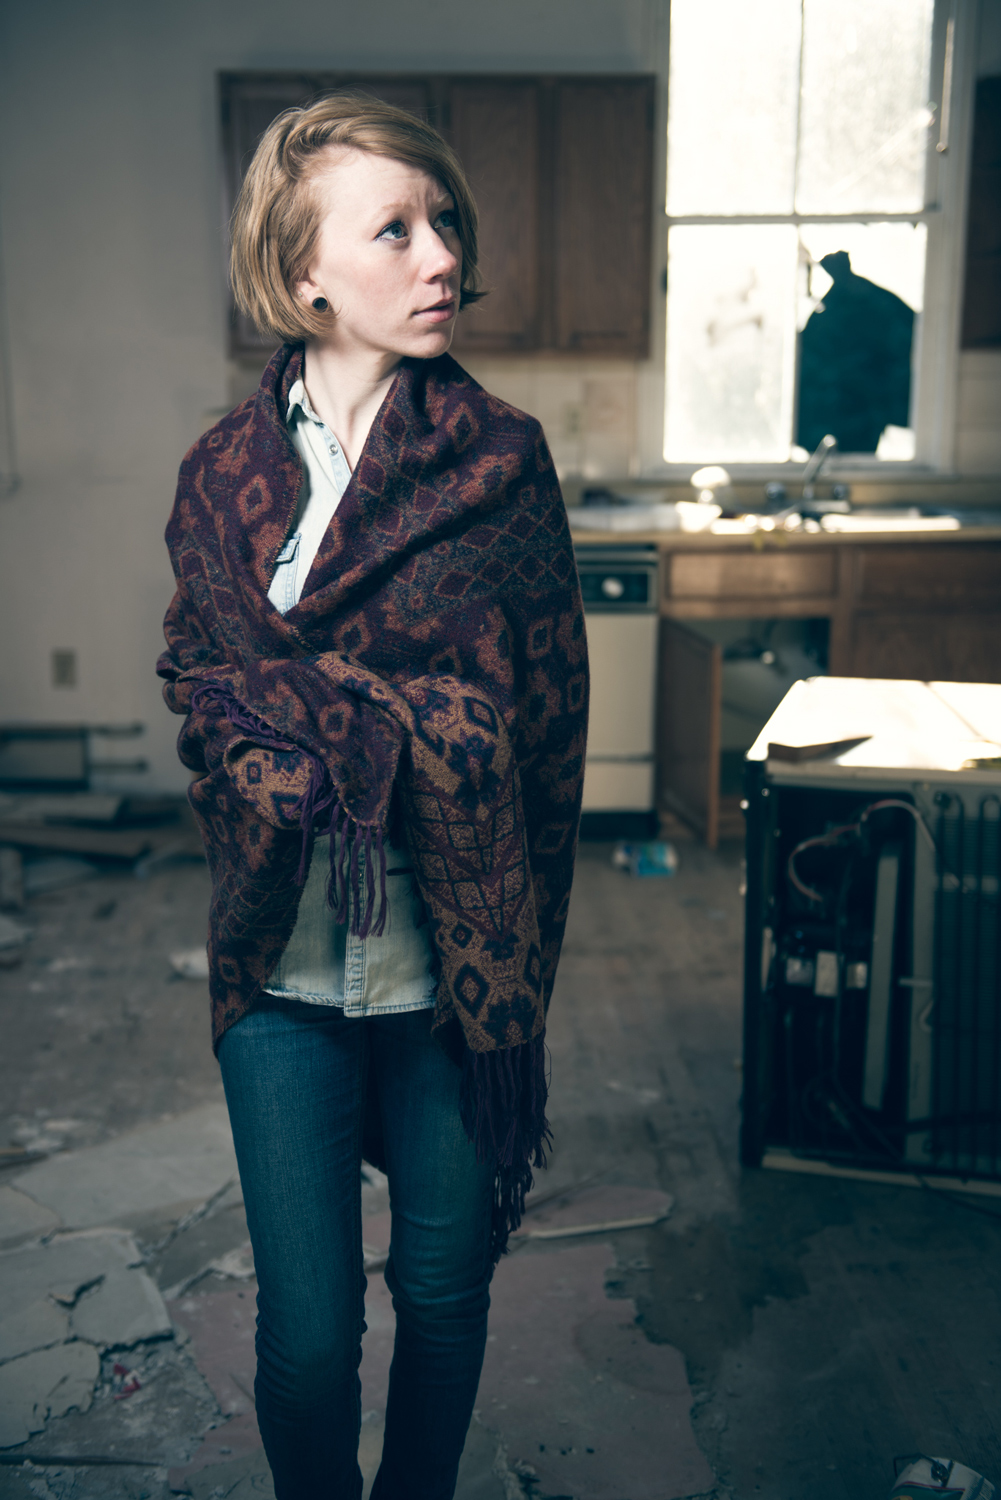
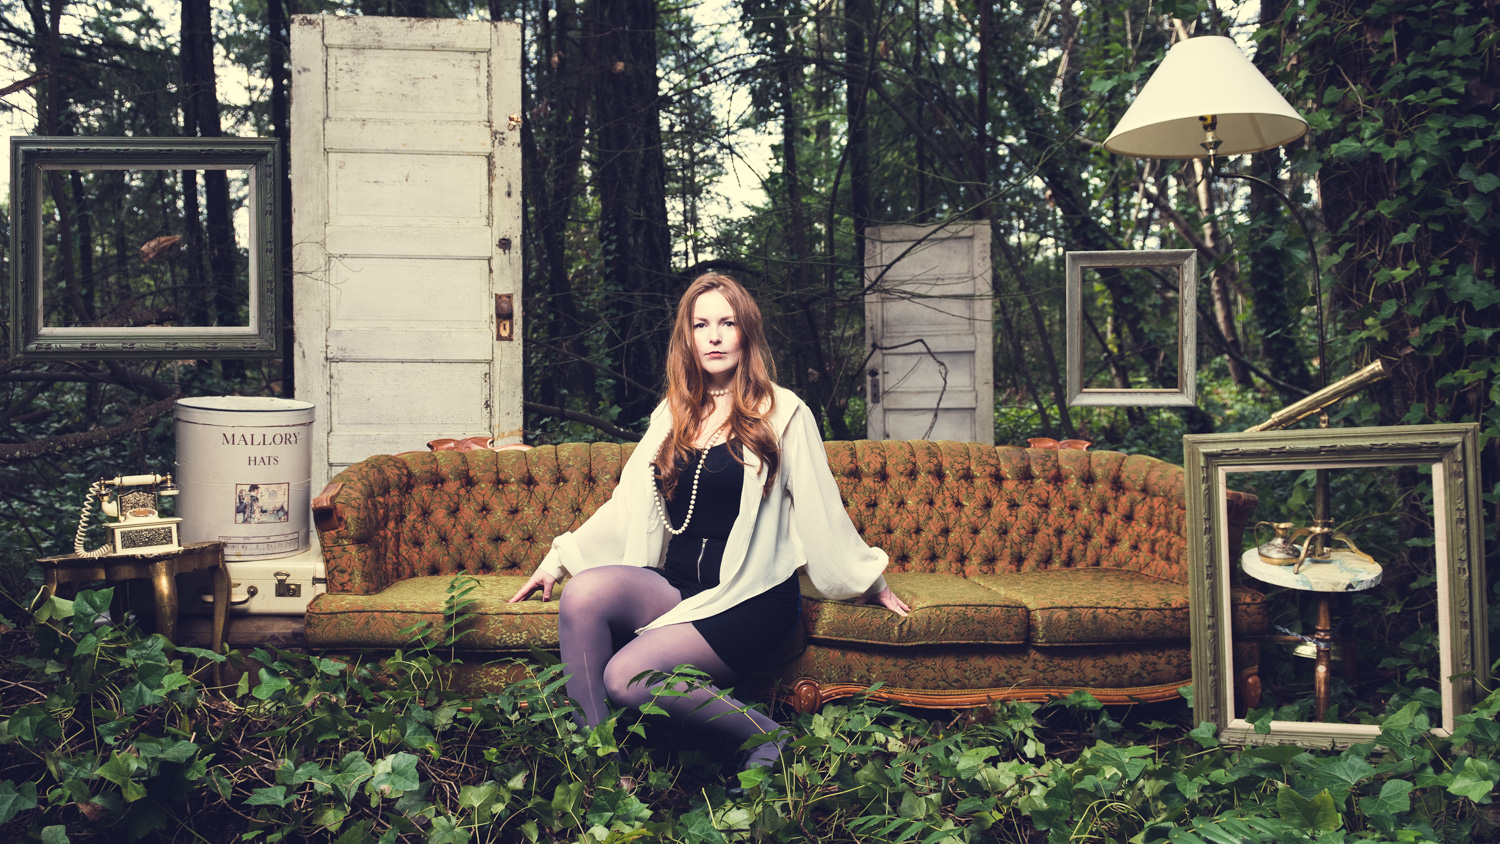
The first and most important thing I do when I arrive at a shoot is interact with the model. Those who take their photography seriously probably think I’m stating the obvious but what I’m addressing specifically is “how” to interact with your client. In order to do this you have to really understand the direction or mood you are trying to capture for the shot and not only convey this to your model but also immerse them into it. The client has to believe in the storyline of the photo to make it a success. Once you’ve laid down this foundation, you have to constantly be interacting and checking in with the model; all while looking through the tiny viewfinder on your camera. However, just constant banter will never be effective. It has to be genuine. Talk to them like an old friend and not like $$. It should never be about the money but rather producing a wonderful photo.
CAMERA SETTINGS
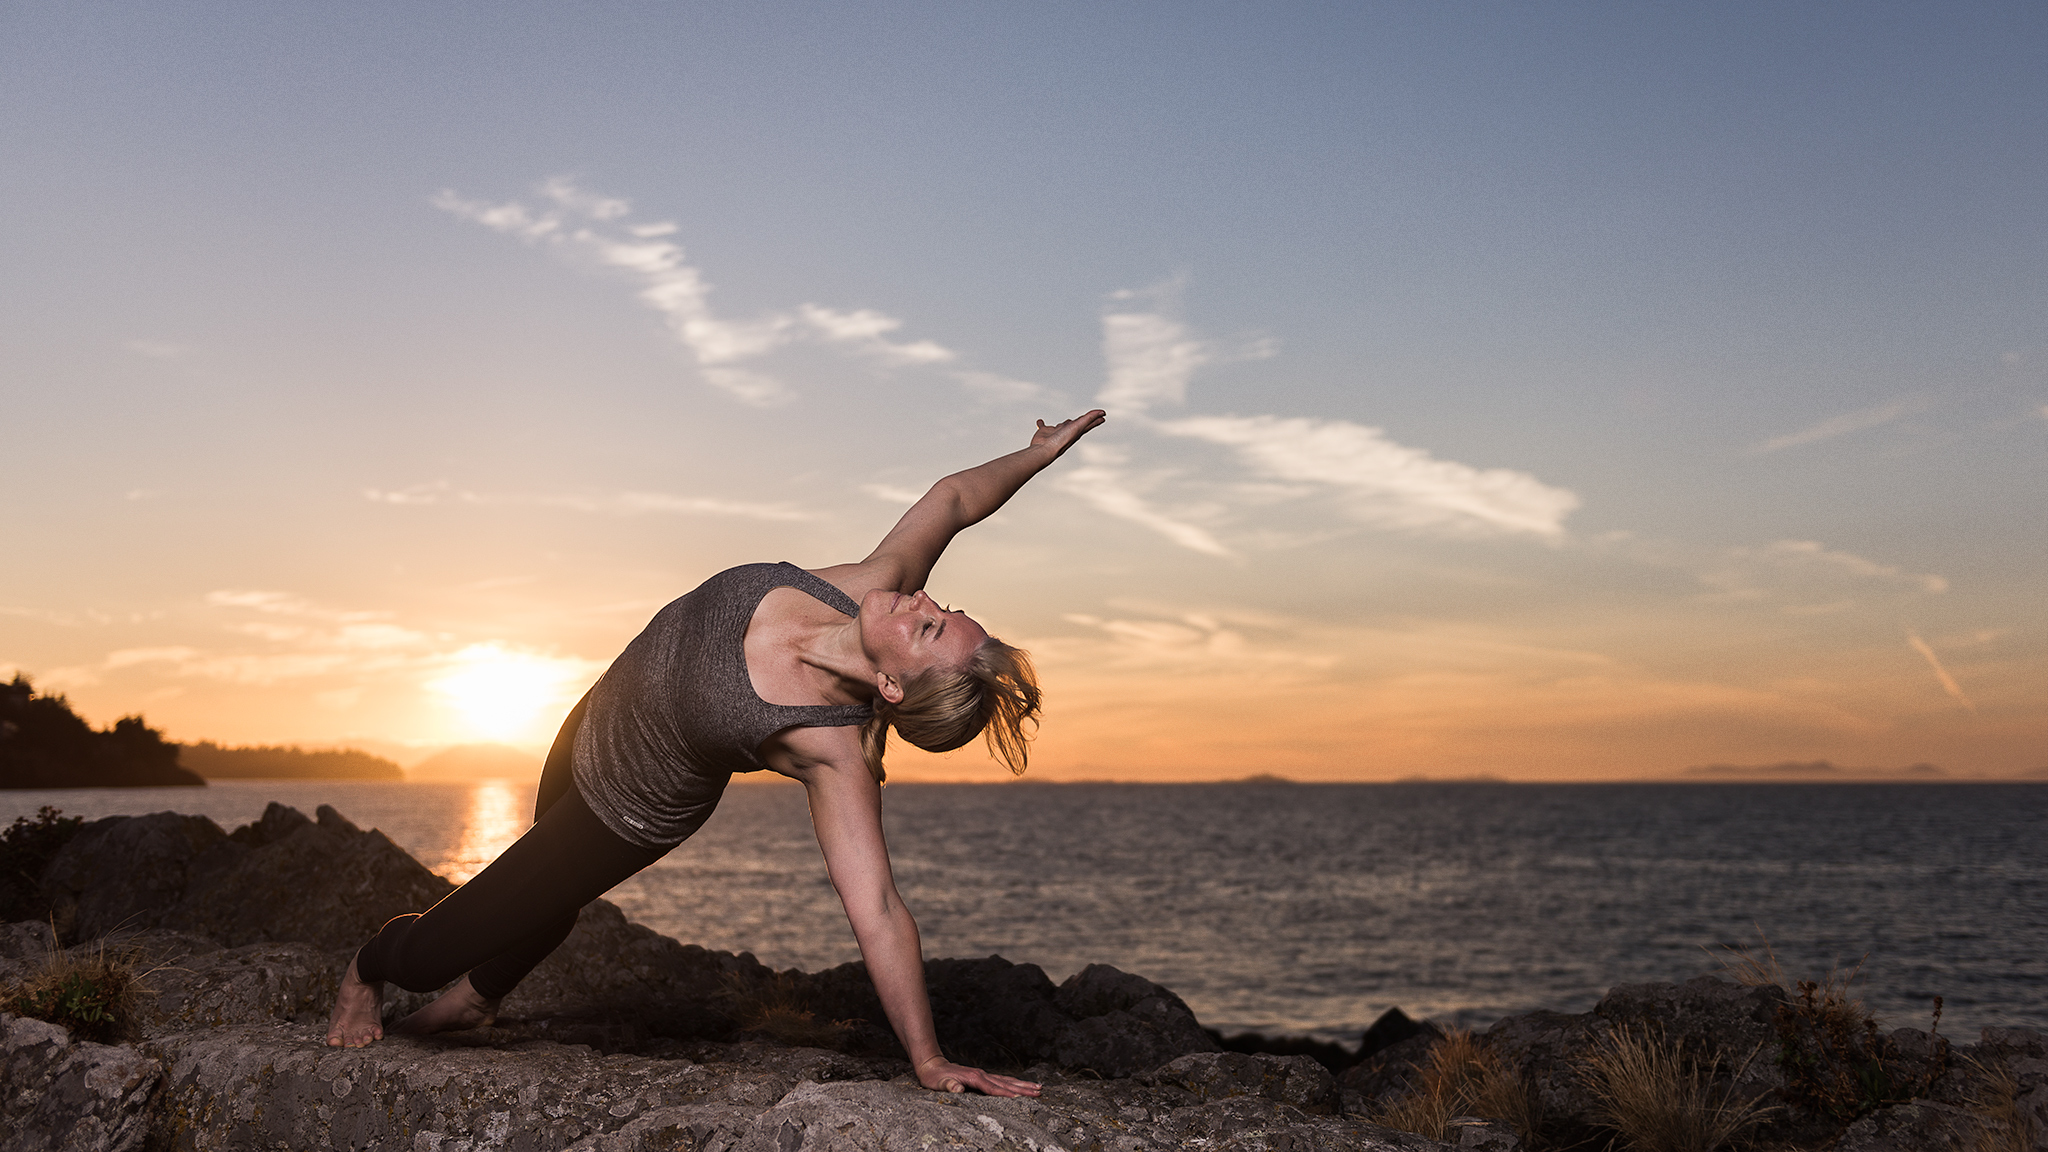
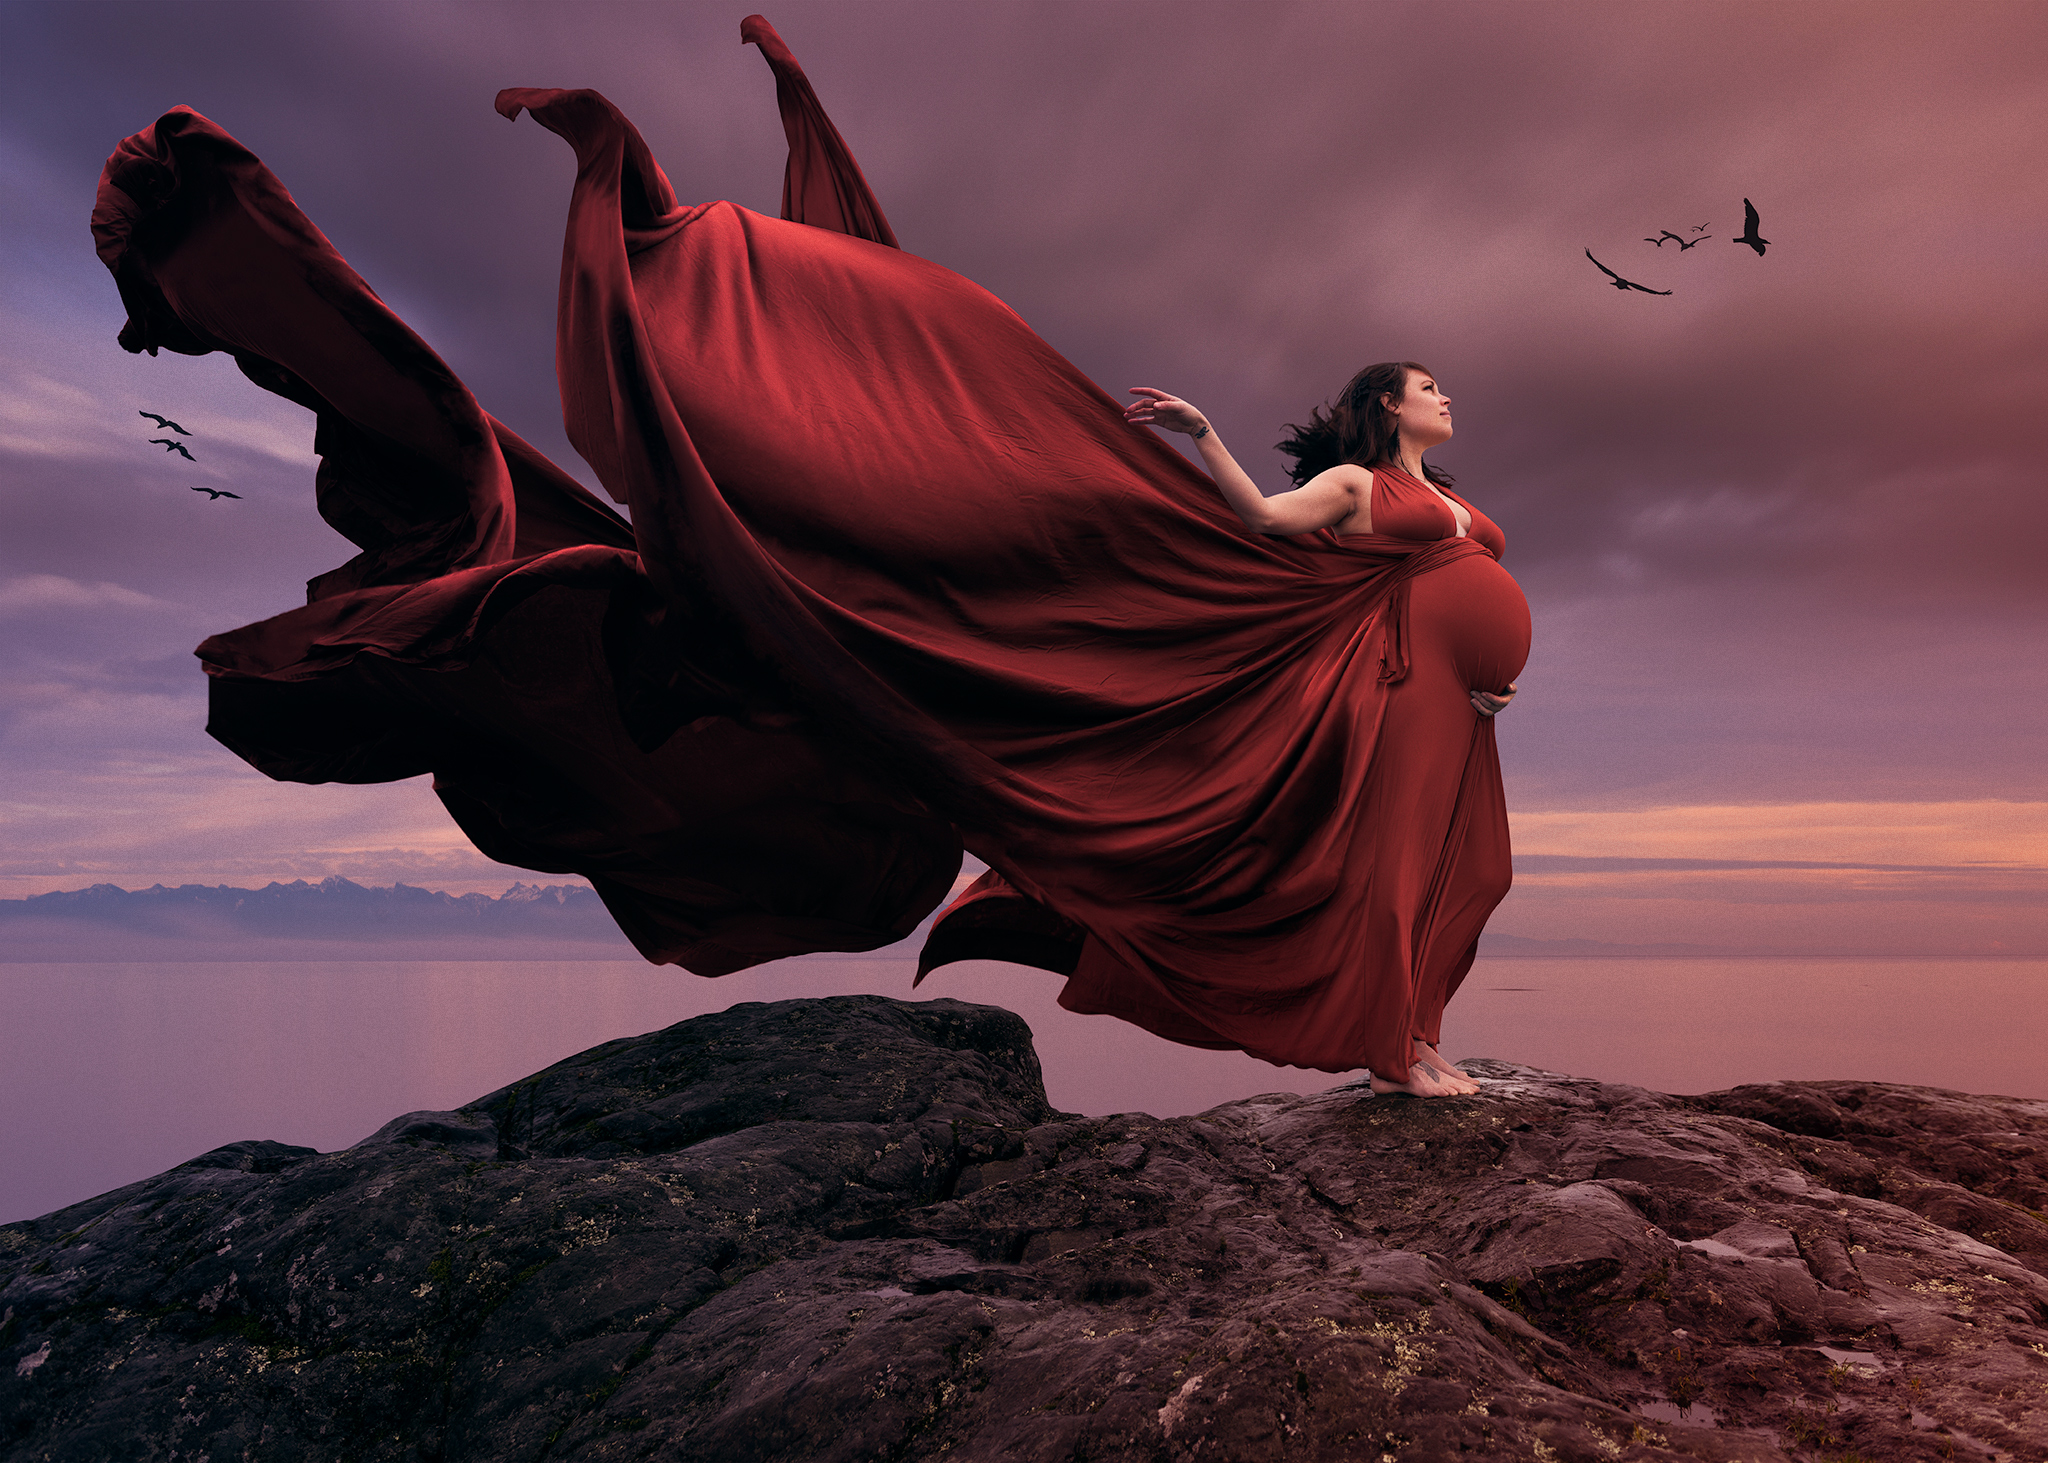
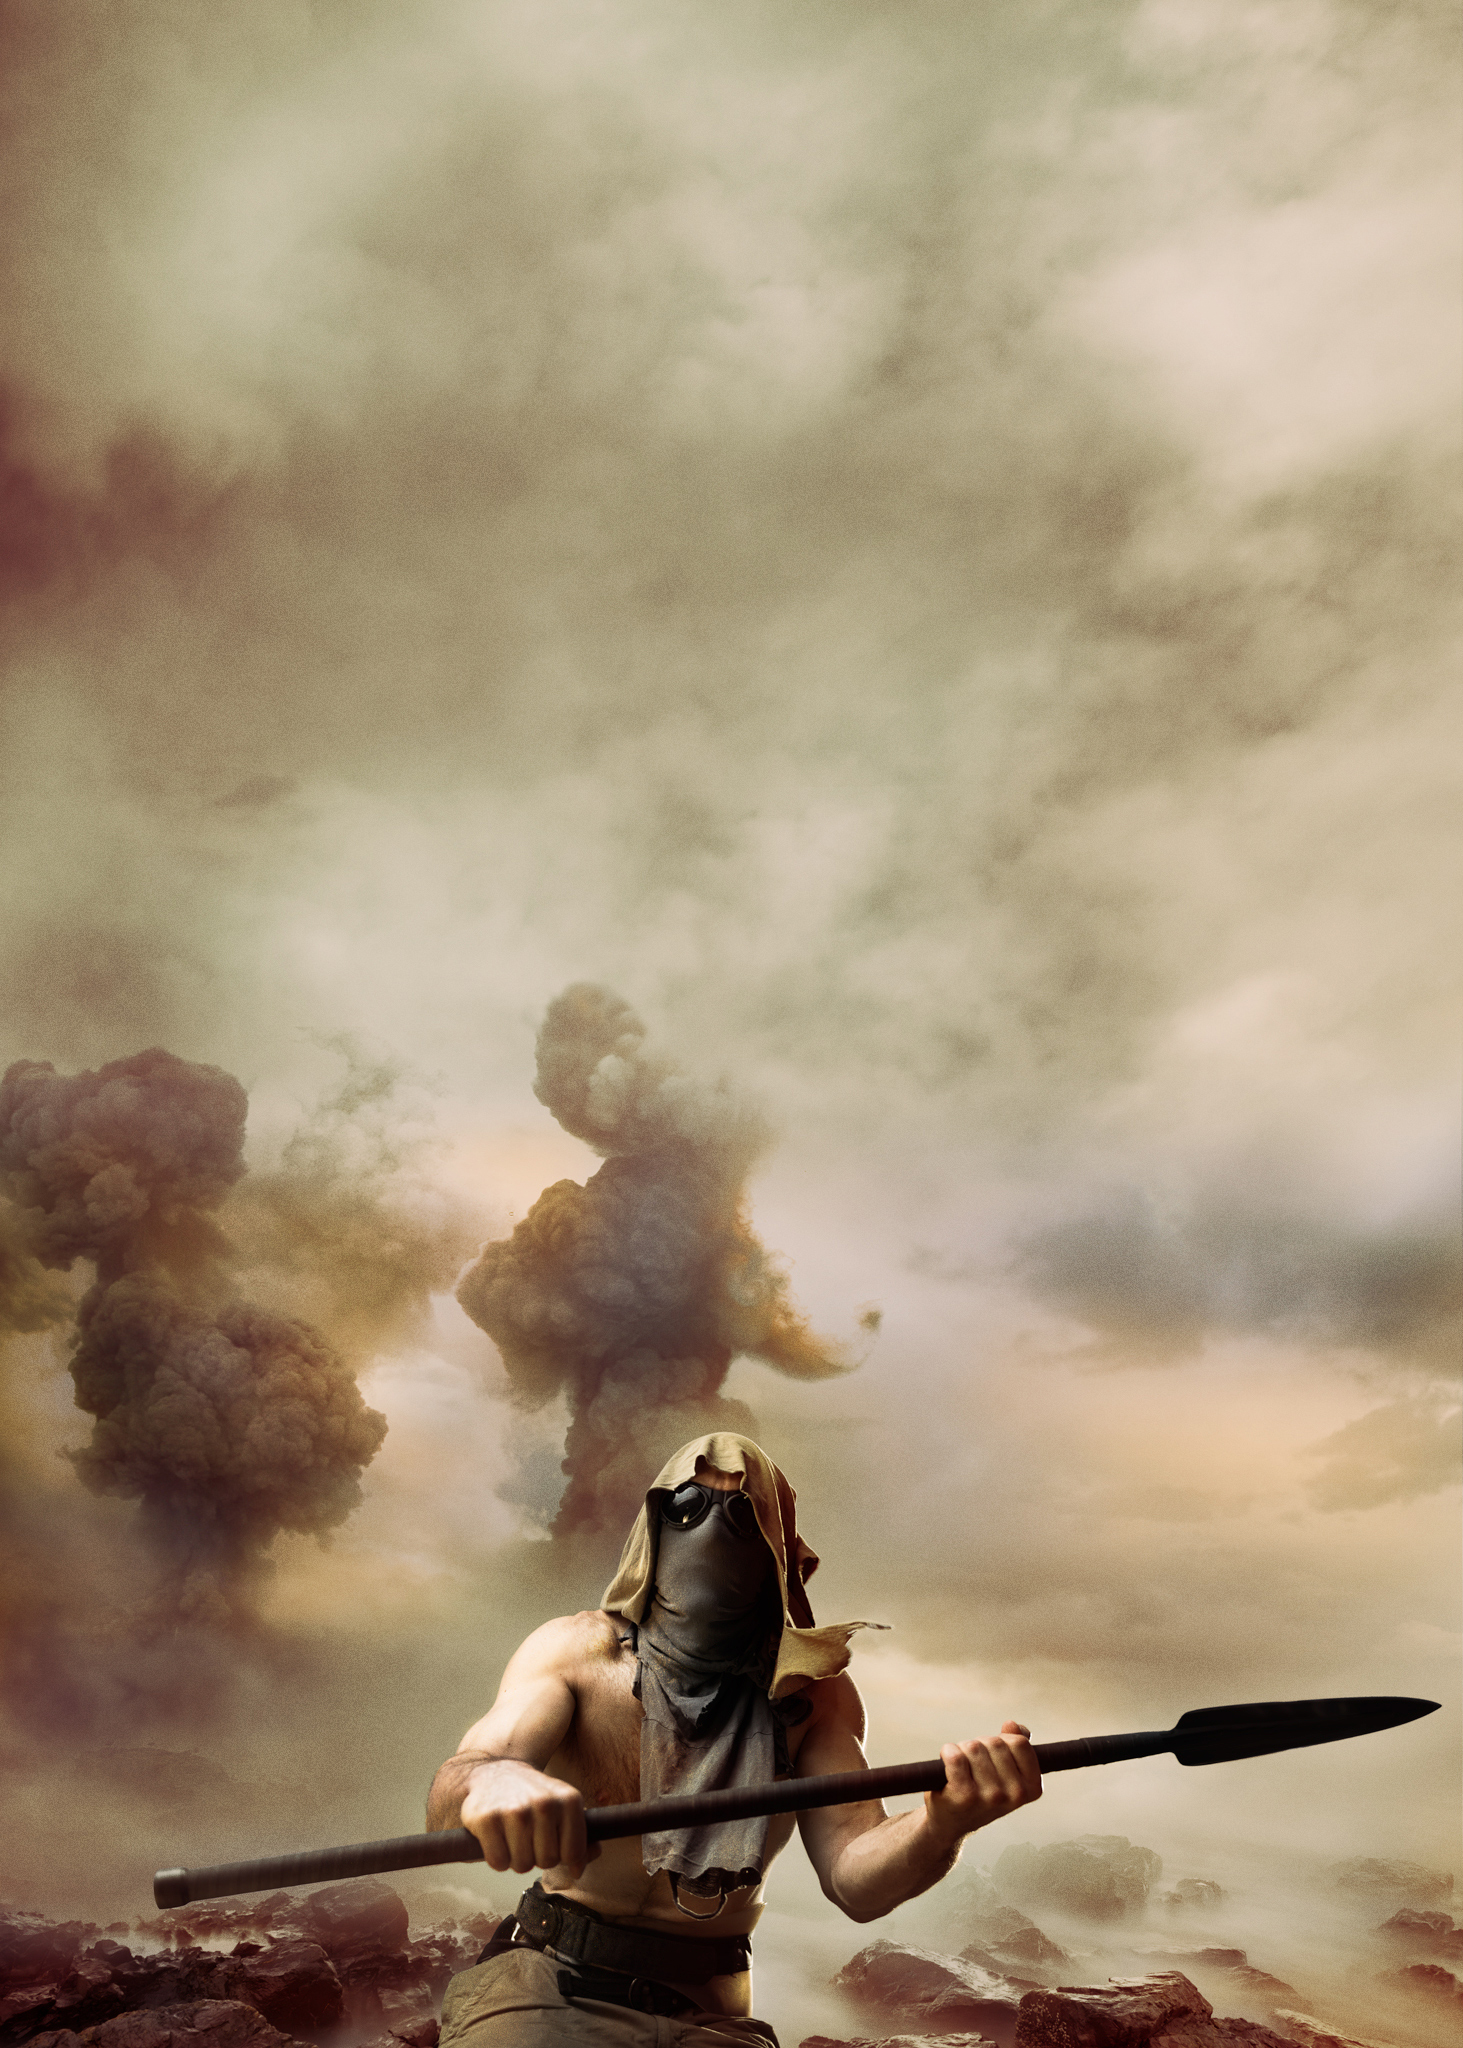
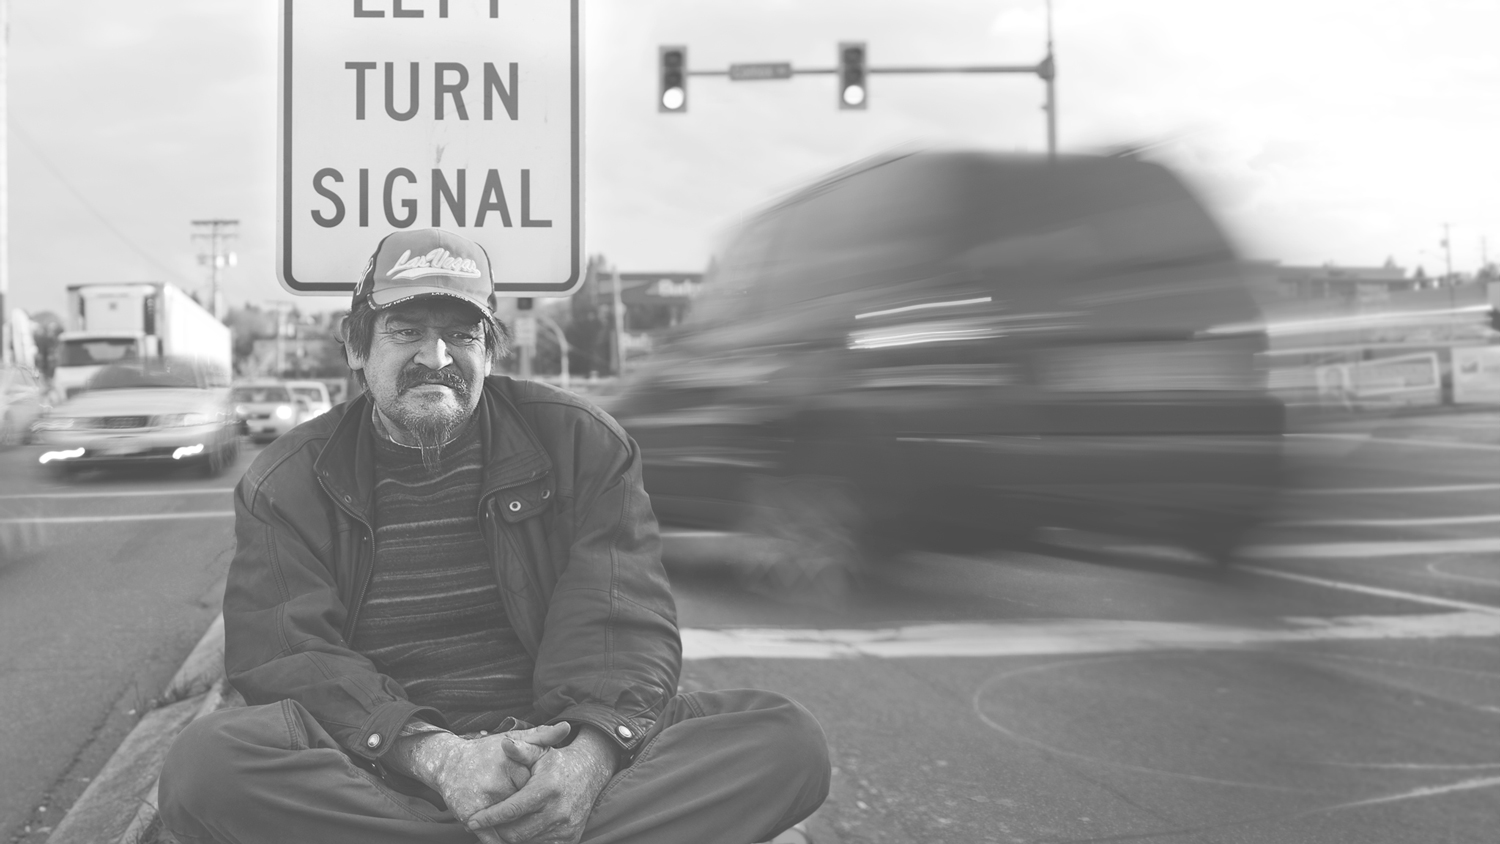
The exposure triangle: ISO, Aperature, and Shutter. Which one do you address first? Although there is no right or wrong answer, I like to set my Aperature first. The reason being because I want to determine my depth of field first between the model and background. Of course, this is restricted by the available light. Next I consider my shutter speed based on how quickly the model is moving or the effect I’m going for. Do I want the model’s hair to show motion blur in the wind or do I want to freeze the action. Don’t forget that your choice of focal length can also determine your shutter speed. Generally, the minimum shutter speed should be equivalent to the focal length of your lens. For example if you are shooting at 200mm, your shutter speed should not be any slower than 1/200th of a second. This will encourage a sharper image as it will minimize camera shake. Another factor that determine your choice of shutter speed is ambient light. By shooting at a slower shutter speed you allow more ambient light to enter the lens or the opposite, quicker shutter speed equals less ambient light. Understanding this can help you craft the look of your photo especially when you are incorporating artificial light from speedlights or strobes. Want a darker sky background and yet allow the model in the foreground to be well illuminated? Then shoot at a faster shutter speed and pop a flash of light at the model until you achieve the desired exposure either by using a light meter, “chimping”, or using TTL. Finally, ISO. You may have settled on your depth of field through aperature and your amount of motion through shutter but you’re photo could still be dark. Adjust your ISO until your exposure is correct. Just remember that if any of these things in the exposure triangle are pushed too hard they can cause diminished dynamics, loss of quality, noise, bluriness, and softness (diffraction). Sometimes to avoid these things you may have introduce lights, move the model into the shade, use a reflector, or change your camera angle in relation to the source of the light.
Approaching a photo shoot can always go as planned as long as you understand a few basic principles and completely immerse yourself, and everyone else involved, into the photo’s vision.