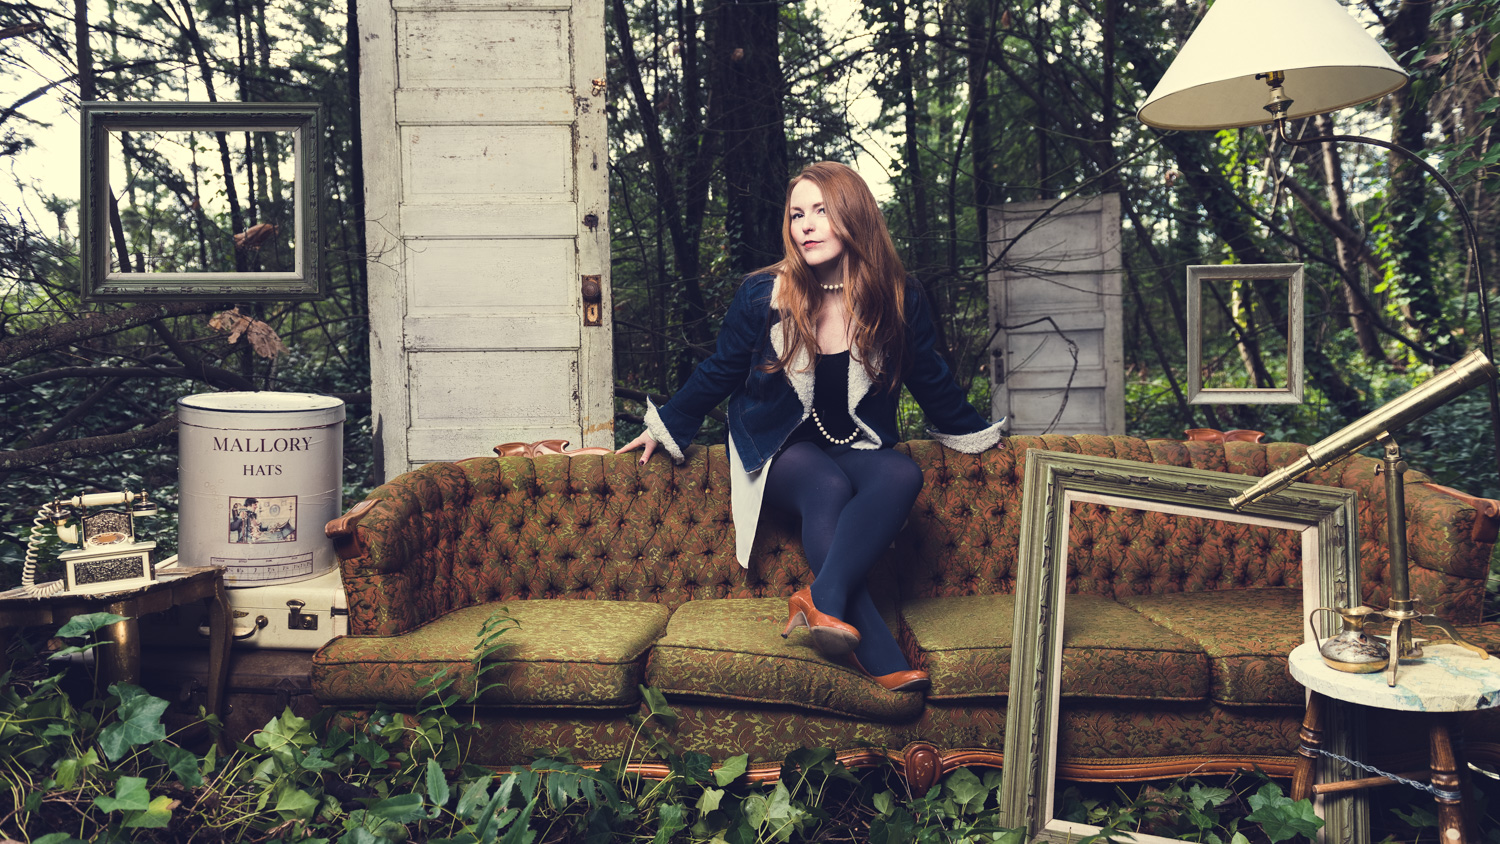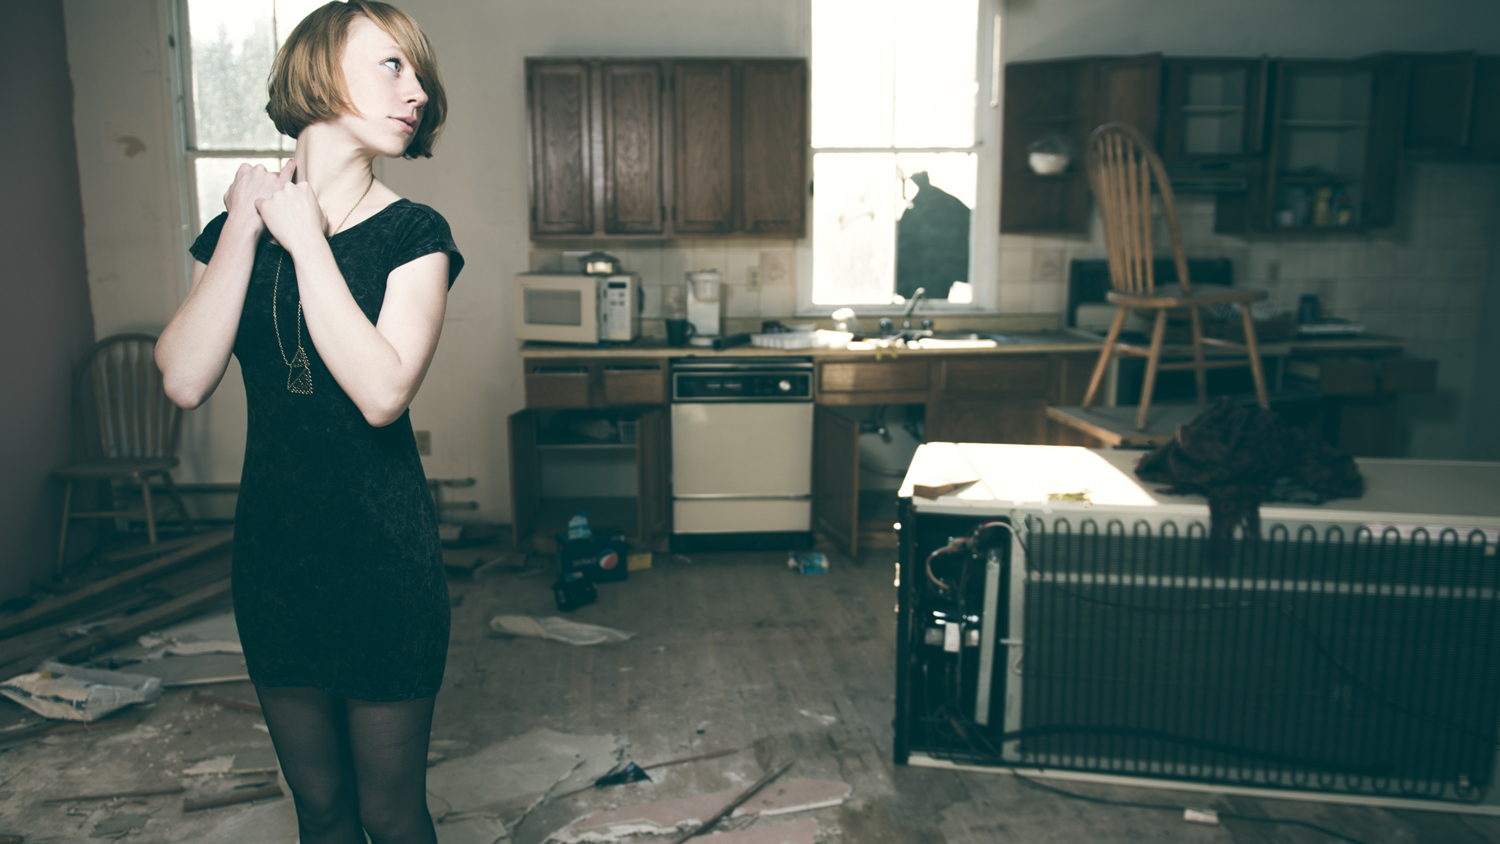

THE SETUP
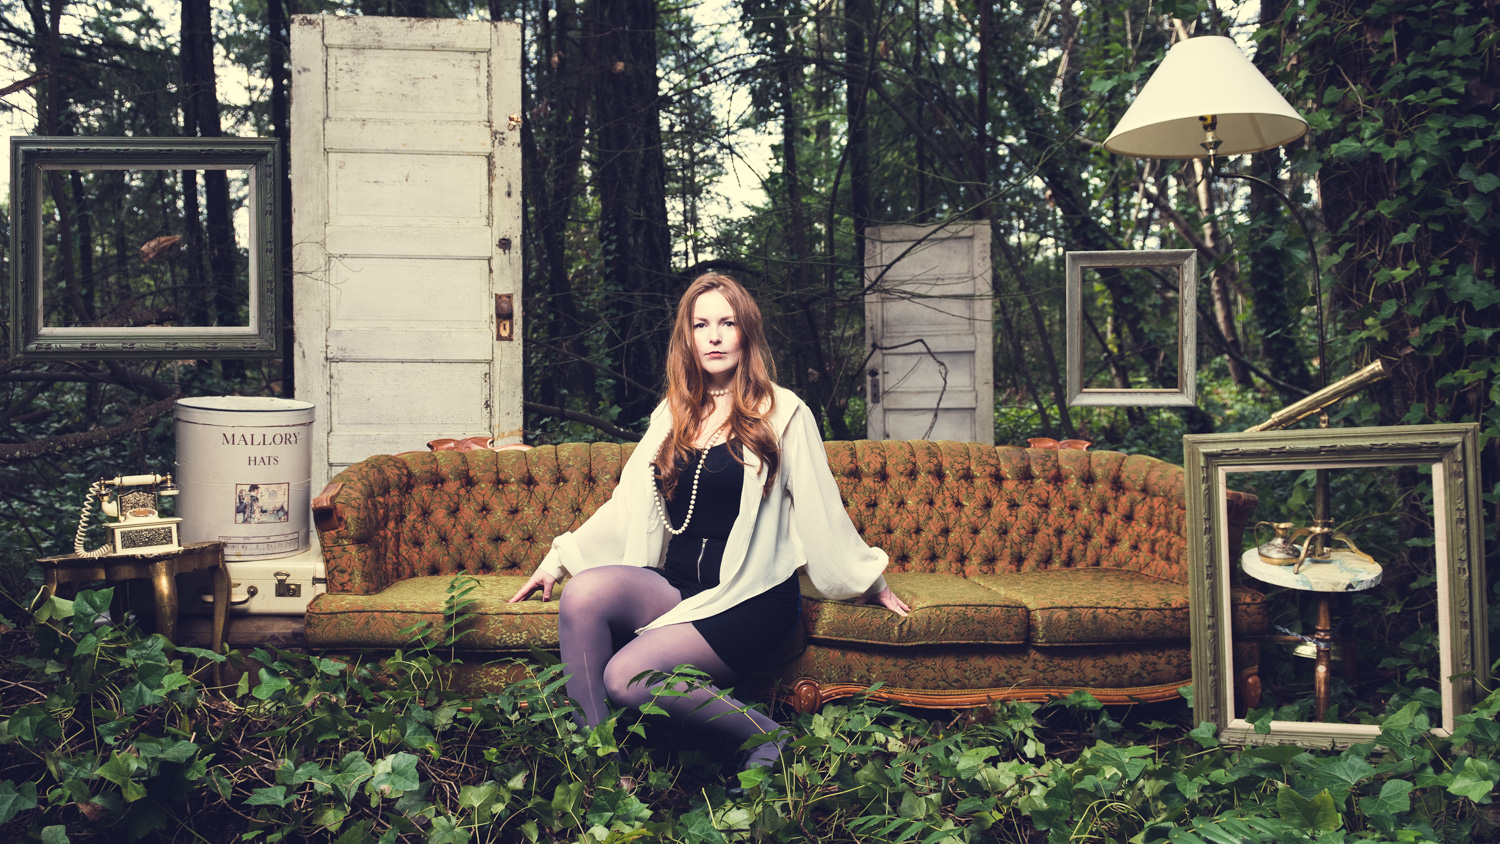
Step 1: Find some strong people to help you lug a heavy couch and tons of random living room items into the woods. Unfortunately we weren’t able to drive right up to the site, there was a bit of a hike. I suppose carrying an extremely heavy and awkward couch makes the hike feel even longer. In hindsight, bring a dolly. Once everything was on location, we moved all the items around several times to find a nice balanced composition. *TIP OF THE DAY – never feel rushed. Take your time with the composition.
THE SETTINGS
The shot above was shot at ISO 160, f3.5, and 1/125th of a second. I chose ISO 160 to minimize the noise and was able to do so by having the Profoto B1 flash there. The woods were actually pretty dark due to the tree cover but I get more than enough power from the 500W/s head. I chose f3.5 because I wanted a slightly shallower depth of field. I didn’t want to lose the background in a barrage of bokeh as it was a nice contrasting backdrop. Because I had placed the model in close proximity to the background, the f3.5 didn’t blur the background aggressively. Exactly what I was going for. Remember not only do you need a wide aperture to blur the background but you also need a bit of distance separation between the subject and background. I shot at 1/125th of a second because I wanted to underexpose my background. When working with a flash, you can independently change the exposure of the ambient light by adjusting the shutter speed. Yes simple as that: shutter speed affects the ambient light, while aperture affects the flash exposure component. Everything was shot at 24mm because the scene was full of wonderful treasures spread across and I wanted to capture everything. Always keep your eye on lens distortion when working with wider lenses. It may or may not be a desirable effect. In this case I wanted no distortion.
Attached to the B1 flash was a Profoto 3×4 RFI softbox which was double diffused. I wanted a very soft light and gentle falloff as the model was fair skinned. The great thing about the B1 head is that you can adjust the zoom. I zoomed in just a bit to give focus to the model and furniture. This also creates a very subtle and natural vignette. The light was placed on a C stand and sandbagged down because there was pretty rough terrain that tried to encourage the light to tip over. Once it was weighed down, I placed the light quite high up to emulate the position of the sun. In order to give a natural look to your light source, you should always imitate your available light. I then adjusted the tilt of the light while taking test shots. At this point I’m closely observing how strongly and where the light is falling off. I wanted the light to just taper off at the bottom of the couch. The way I determine the power settings for the light is different every time but in this case I set the B1 to TTL and fired off a shot. Profoto has created a pretty great TTL system that is quite reliable. After doing a few test and minor softbox adjustments, I found my exposure. At this point, because we were in the woods and had a canopy of trees, the lighting was not changing significantly. Noticing this, I decided to switch the B1 from TTL to Manual mode. When you pop a flash in TTL to get a power reading and then switch to Manual, the B1 keeps the same power settings. That way every shot to follow will guarantee the same output. Consistency! However, when I did want to create subtle “mood” changes, I changed the output anywhere between a half to full stop through the ease of the Profoto AIR remote system. This would sometimes help soften the skin tones or influence the shadows to bring more depth to the face and body.
THE METHOD
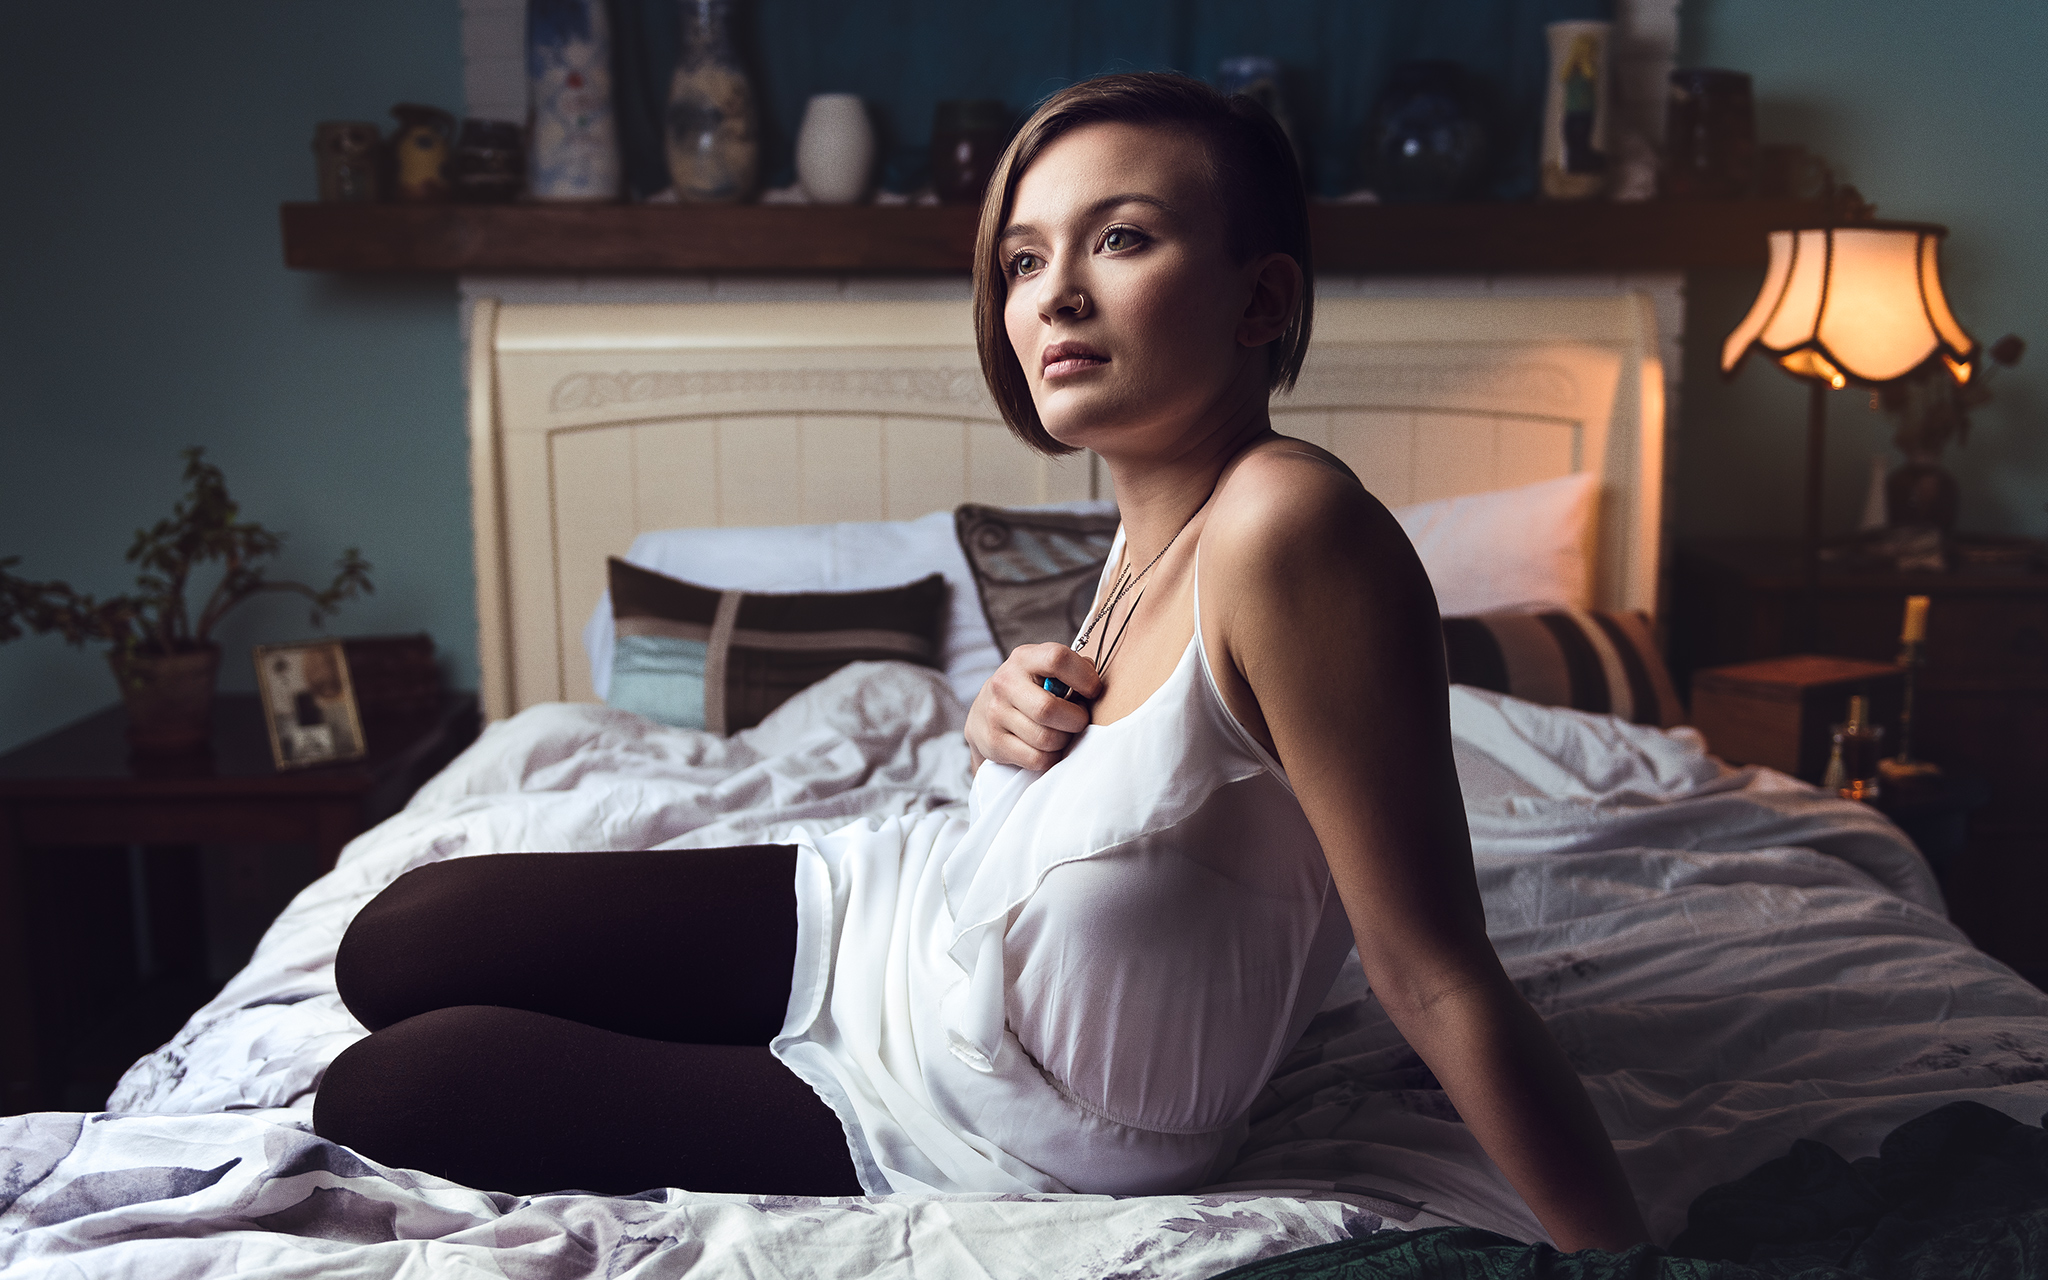
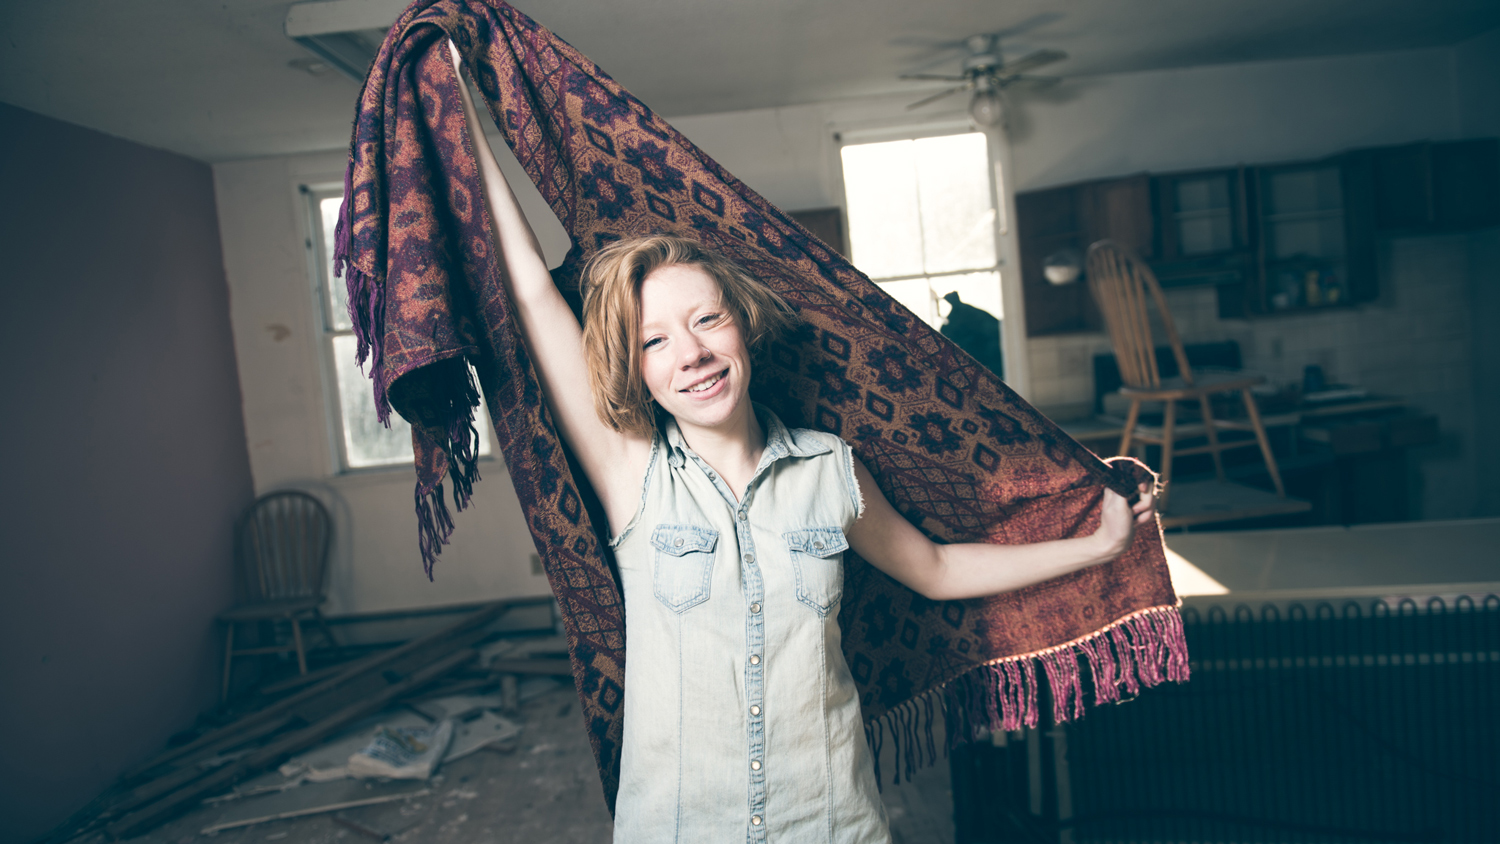
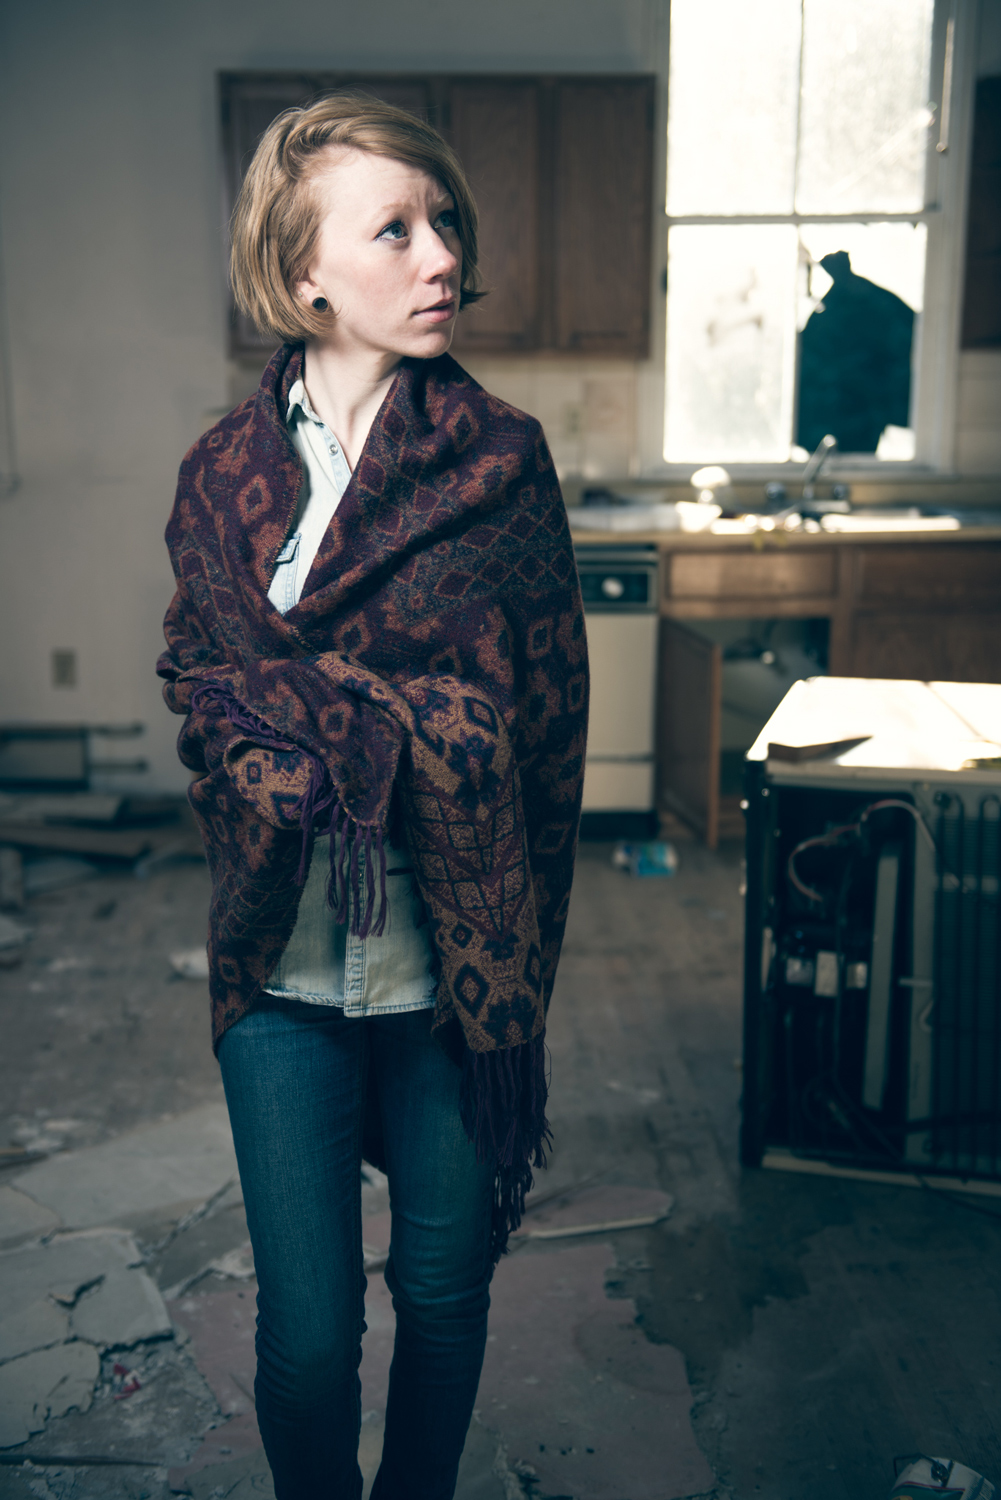
The intention of the shoot was to showcase fashion and interior design. Once those pieces were in place, I had to keep the model smiling. Keeping the atmosphere light and the energy comical and exciting, we had enough forward motion and momentum to carry us to the moon. As important as camera settings and lighting positions are, you have to really focus on the most important subject in the whole scene, your model. It was also a cold afternoon in the woods so I had to move fast and always check in with the model. Occasionally handing her gloves or a warm jacket to ensure her skin wasn’t turning blue! A warm subject is a smiling one! As much as you want to capture the perfect shot you still need to be hyper aware of the models mood. This will always supersede all other variables. It’s a respect thing.
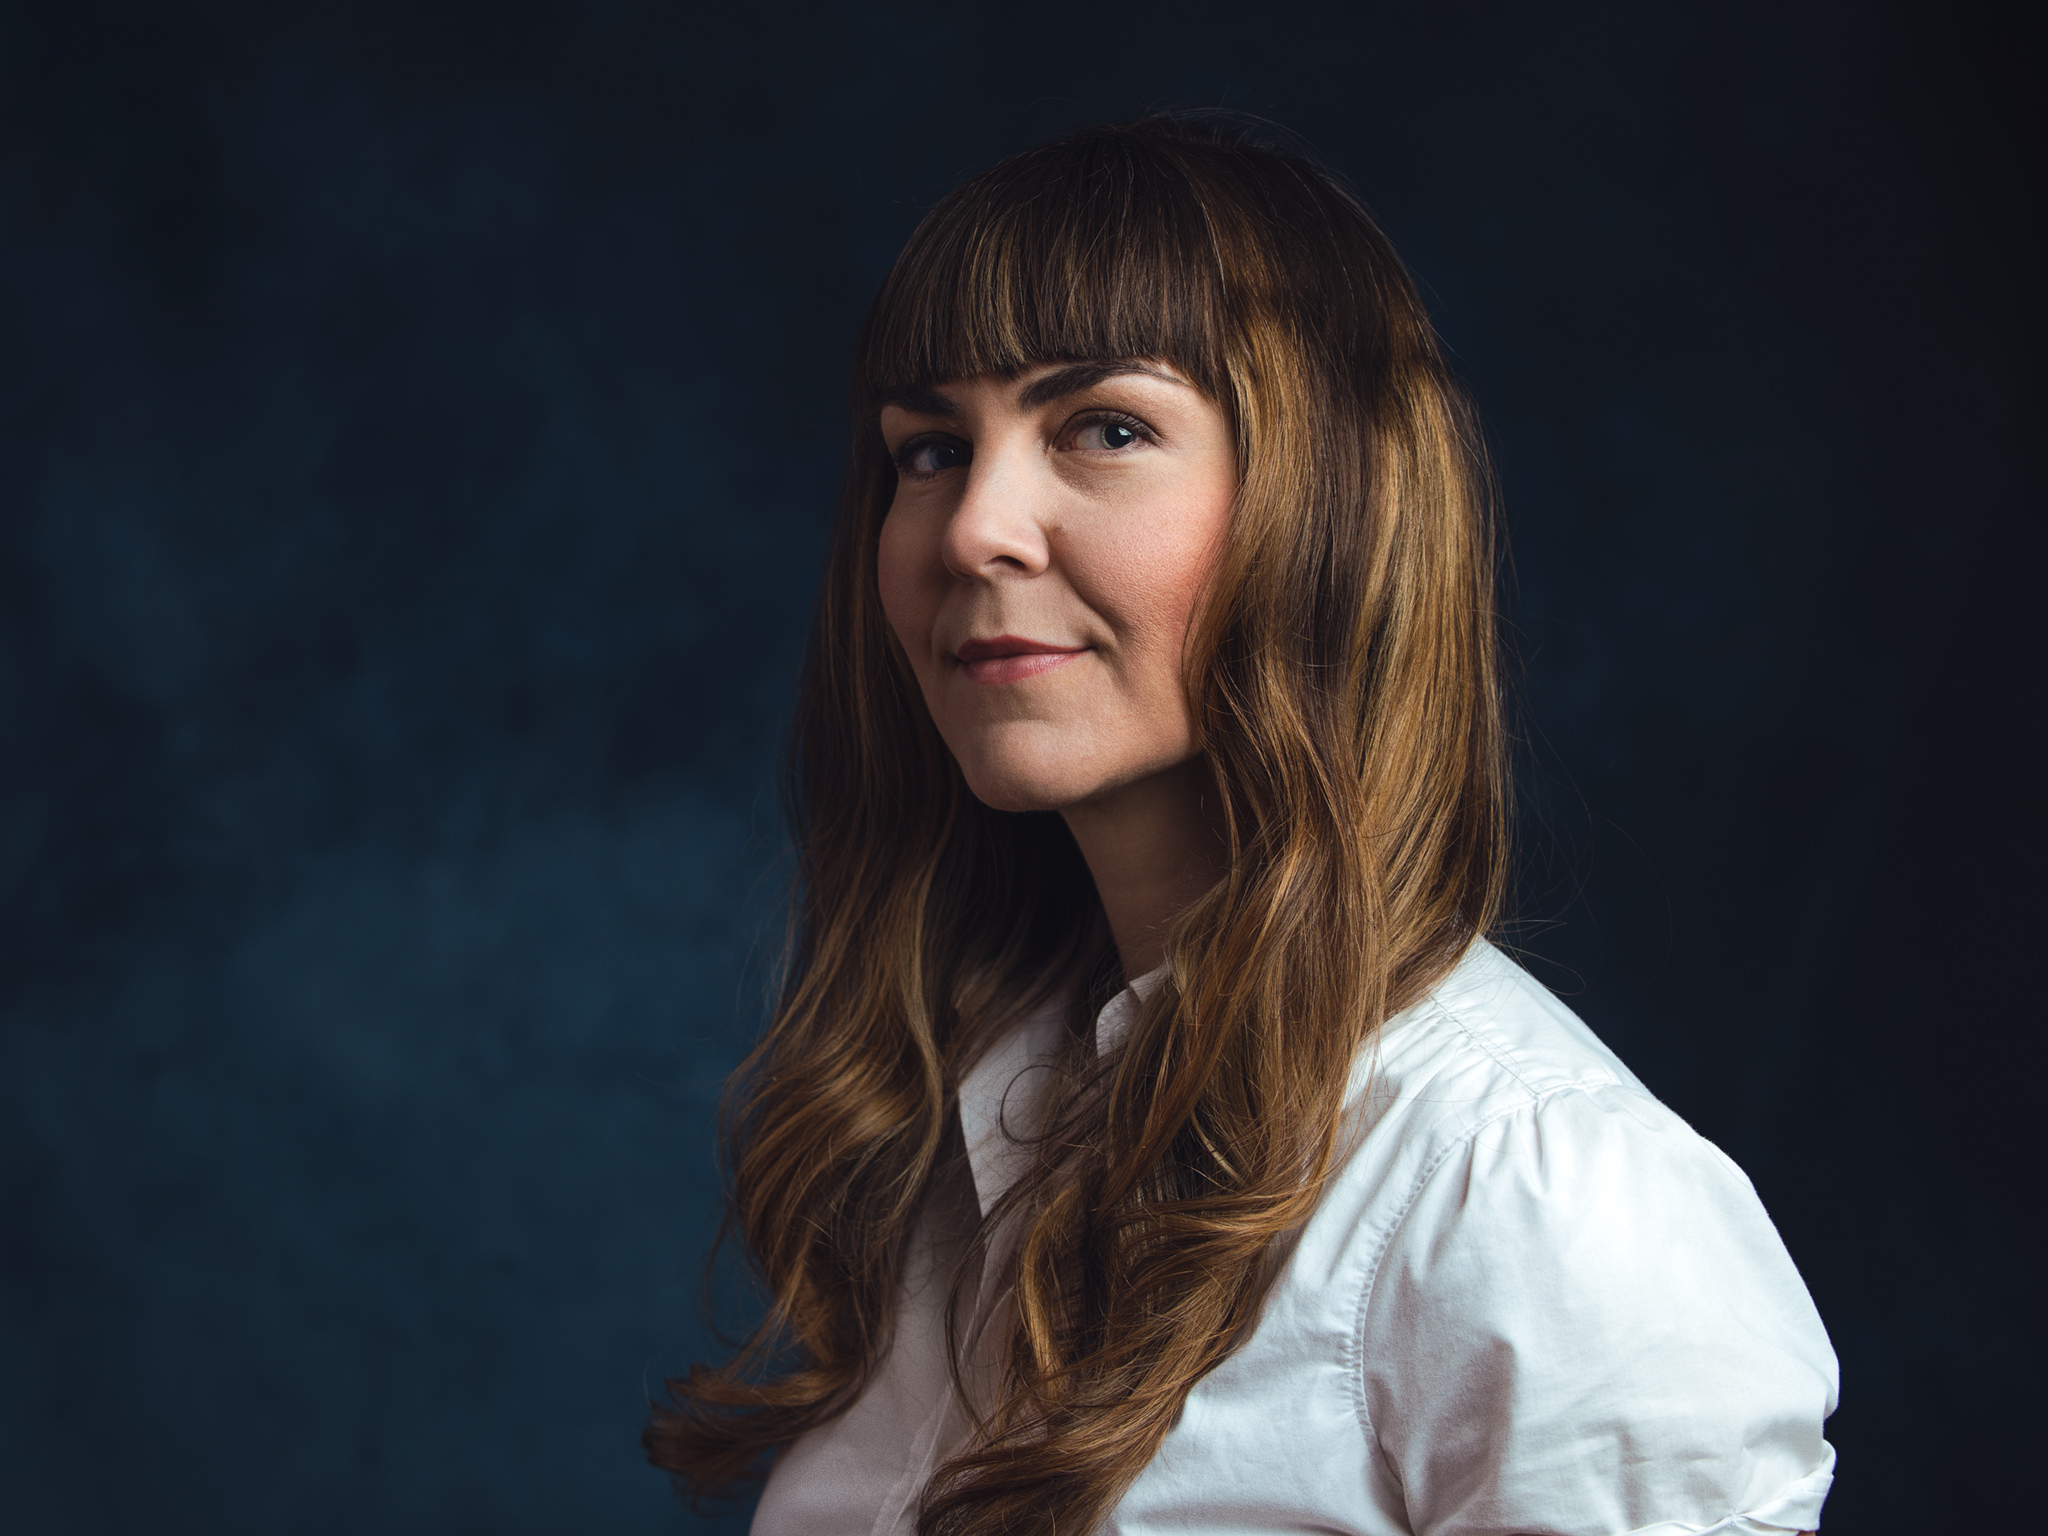
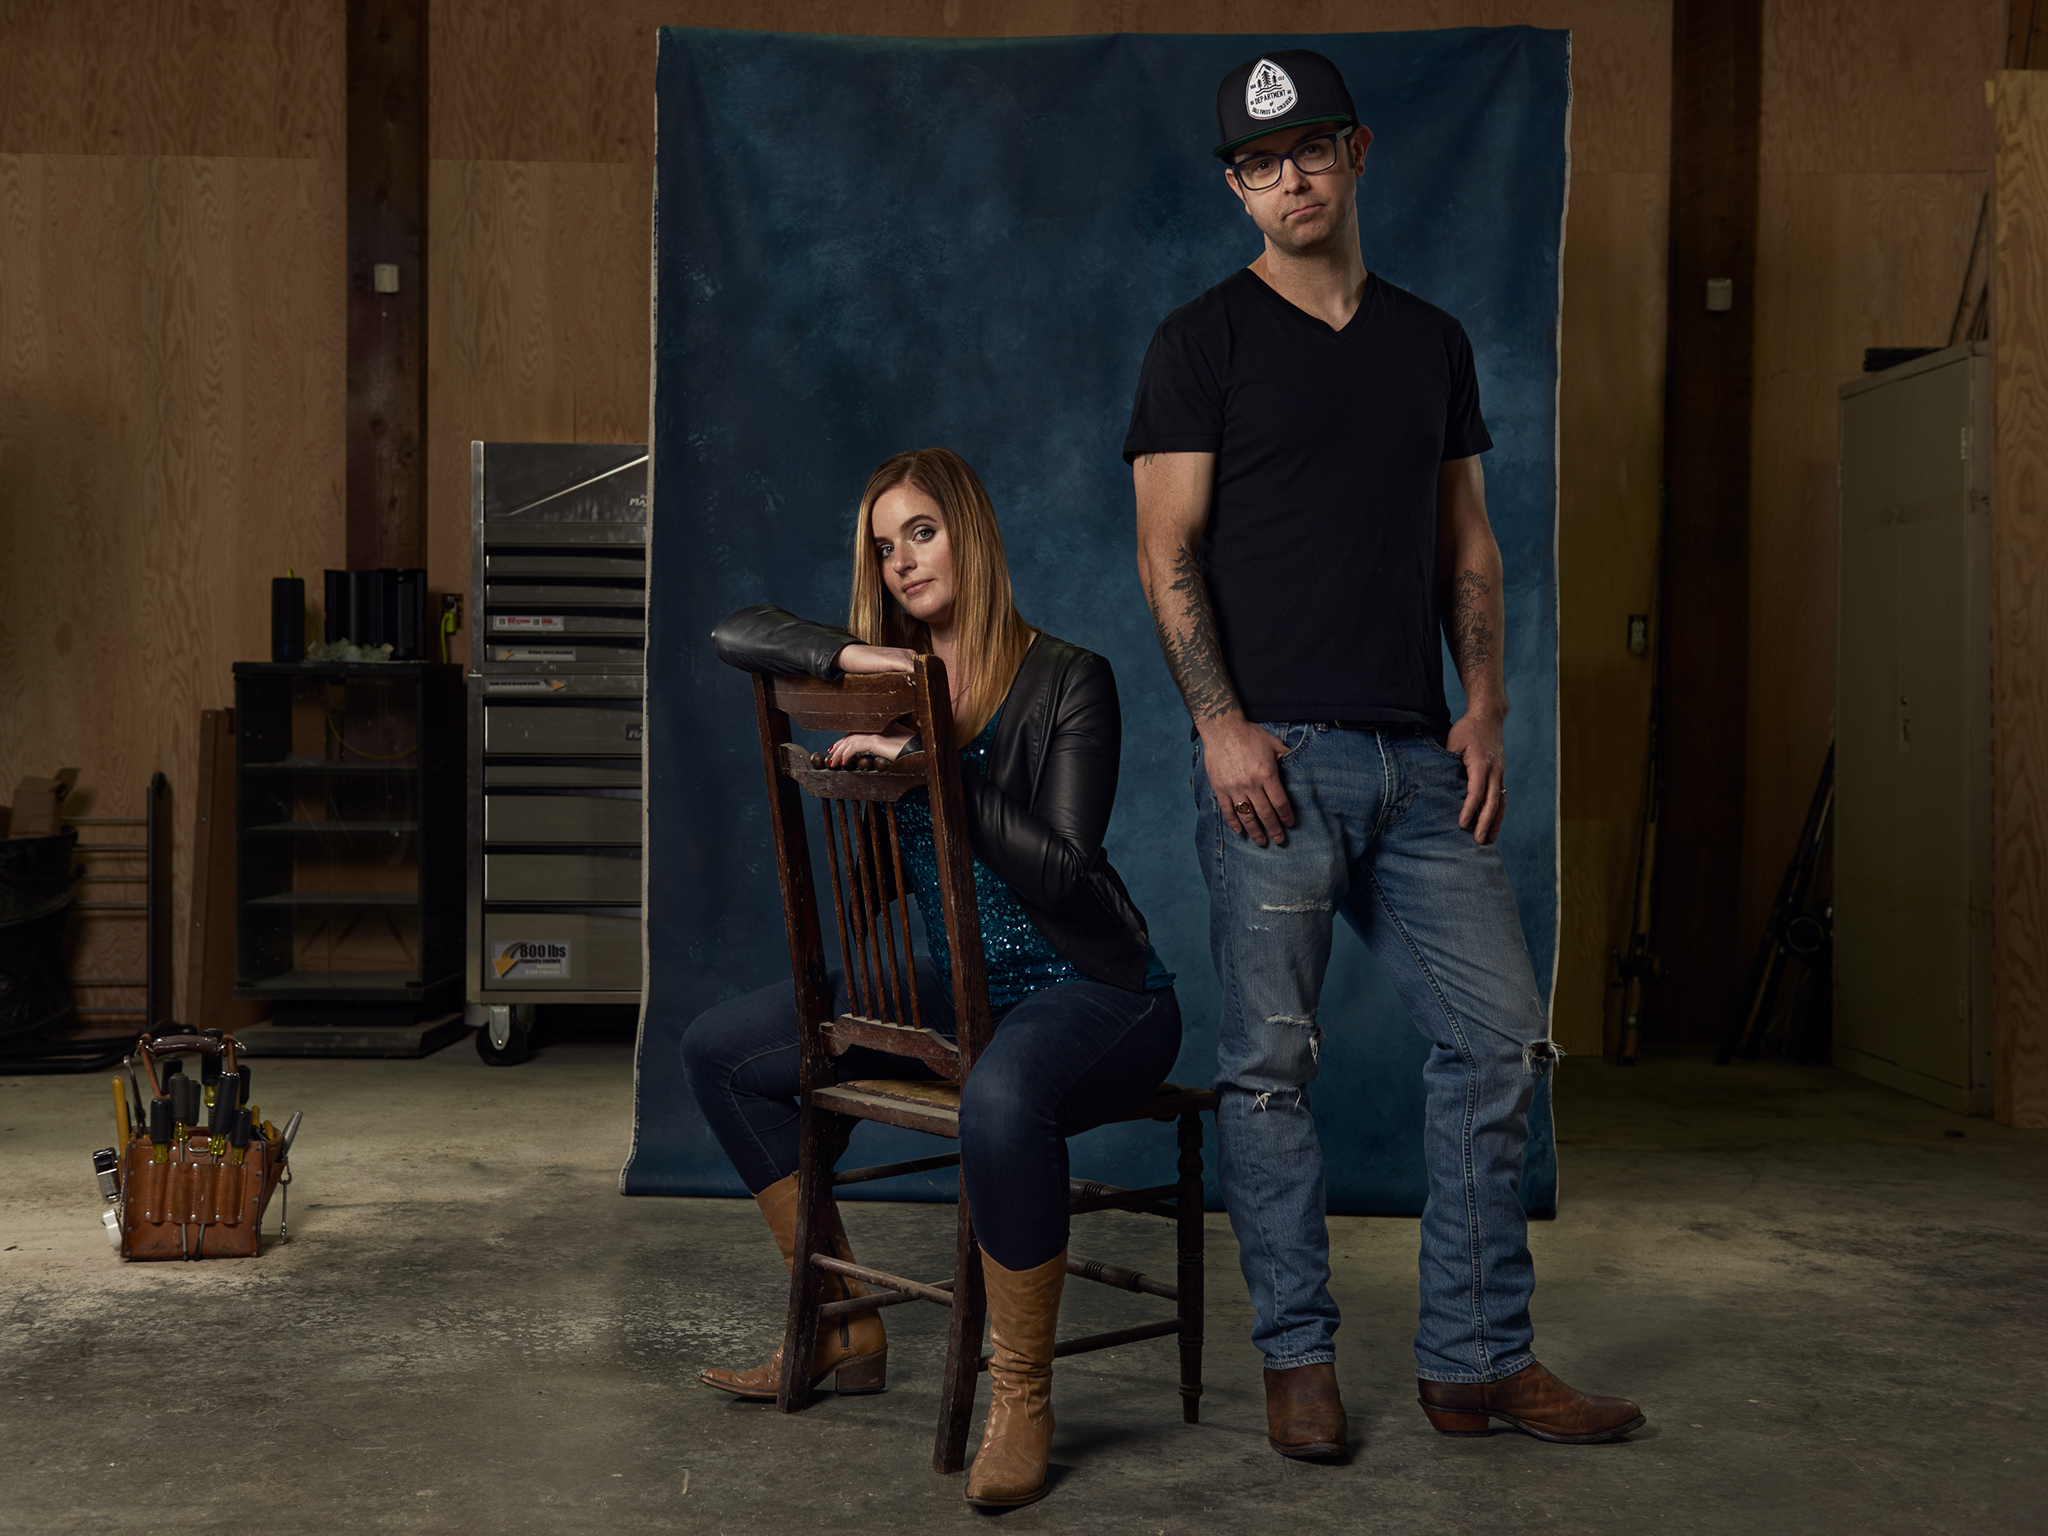
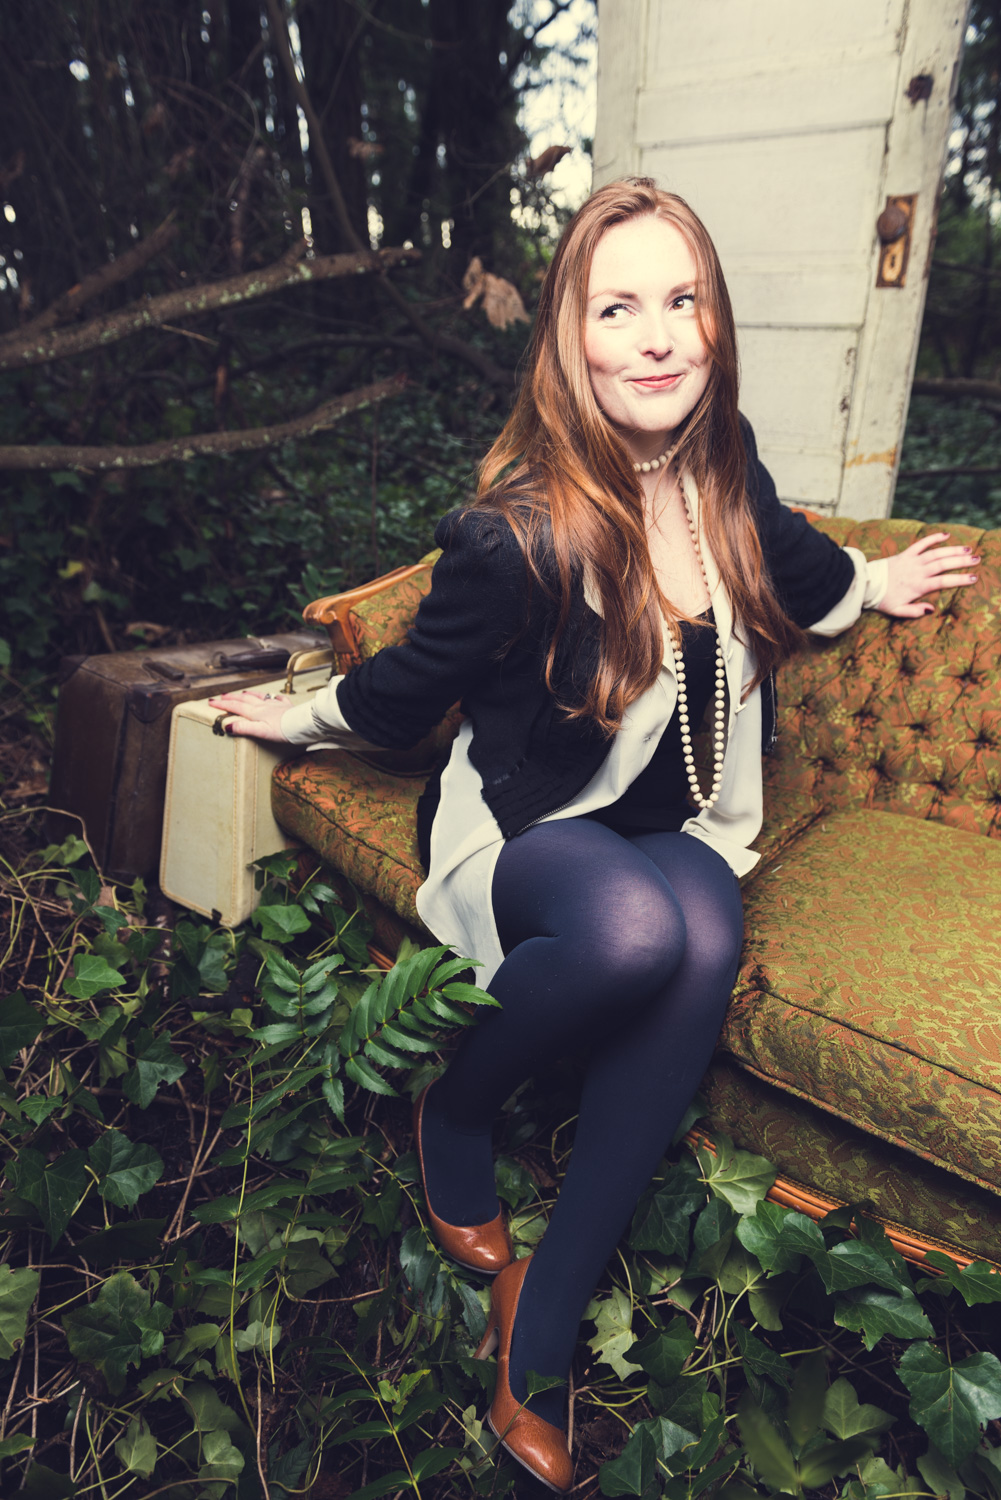
As far as posing the model, that is an art in itself. There are definitely some tried and true tricks for both men and women but remember, everyone is built different. For a few of the shots, I had Mallory turned slightly off axis to the camera and also slightly leaning forward. This can be a very flattering pose for a woman. By controlling the amount of tilt forward you can control the proportions quite easily. For example, lean backward and you can exaggerate the hips or lean forward and you can bring more focus to the face. Turning slightly away from the camera (one shoulder back) will add depth to your subject. Even playing with the distance of the limbs to the lens can add significant drama. Although I find having arms or legs pointing in different directions or at least not lined up is good thing because sometimes you can encounter the “one arm” effect. For example, have your model’s side facing the camera and arms up and touching back to back. Take the picture and quickly you’ll see the illusion that he or she only has one arm. An even funnier example would be those great family photos when everyone is arm in arm with each other and sadly the person in the middle always has no arms because they are behind the person on either side. In general, keep the limbs separate and moving independently in order to distinguish the human form.
There you have it! As with any shoot keep the energy light and forward moving and move with a confident pace. That’s all it takes to create a living room in the woods!